Skip to content

Category: Crafting tutorial

Two sided boards

Looking for nice base plate for your play ground terrain? Take pin board and turn it into two nice lands. Lets go to the forest. Find a cave. Then go deep to the Underdark!

First look at this scary dark board adds fear of falling right here:

This darkness around gives you focus, makes you stronger as a Dungeon Master!

Concept of dark base which gives you this nice perception of void comes from Drunkens & Dragons – cheers Hankrein, You are great man!

What we like to do here, is to extend the idea a bit, finding a way to have collection of base terrains like nice scroll-able box of vinyl records. It may help, when you don’t have much space in your home 😉

Fist we pick two-sided pin board. Go to some paper / office shop. You will find them in nice price for sure.

And those are two-sided right!

First we paint one side with deep dark color. Be careful, cork, which is a core material here, need to be painted with thicker layer of paint to hide cracks. Wait until it became dry.

And you have something like this:

x

Perfect and nice for dark places, caves, tunnels etc.

Ok, now flip it on the second side!

This one have 60 by 30 inches. Quite big one, you may have smaller for your collection if you like. By anyway this one will be our grass land for druids stone circle in the center. And we will have nice sword in center. Like Excalibur, from Legend of King Arthur. But this sword will be ugly. How ugly? You will see some day.

Anyway, to the point. We take sharp knife and add grid first. Very delicate. We don’t like to create holes, just to put a little lines, which will help us count moves during the game.

Now base paint. This time with a bit dark green color. Everything to hide natural cork color.

But this general dark green all around looks boring, right?

Fine, we will use sponge painting technique to add nice grass. Just mix green and white paint with a little grain of yellow ochre. Little grain means really little one.

Then we have to wait a bit until it dries.

Finally we have to deal with borders. I simply painted them with single layer of burn umber. And you have it my friend!

 

Polystyrene foam cutting tips!

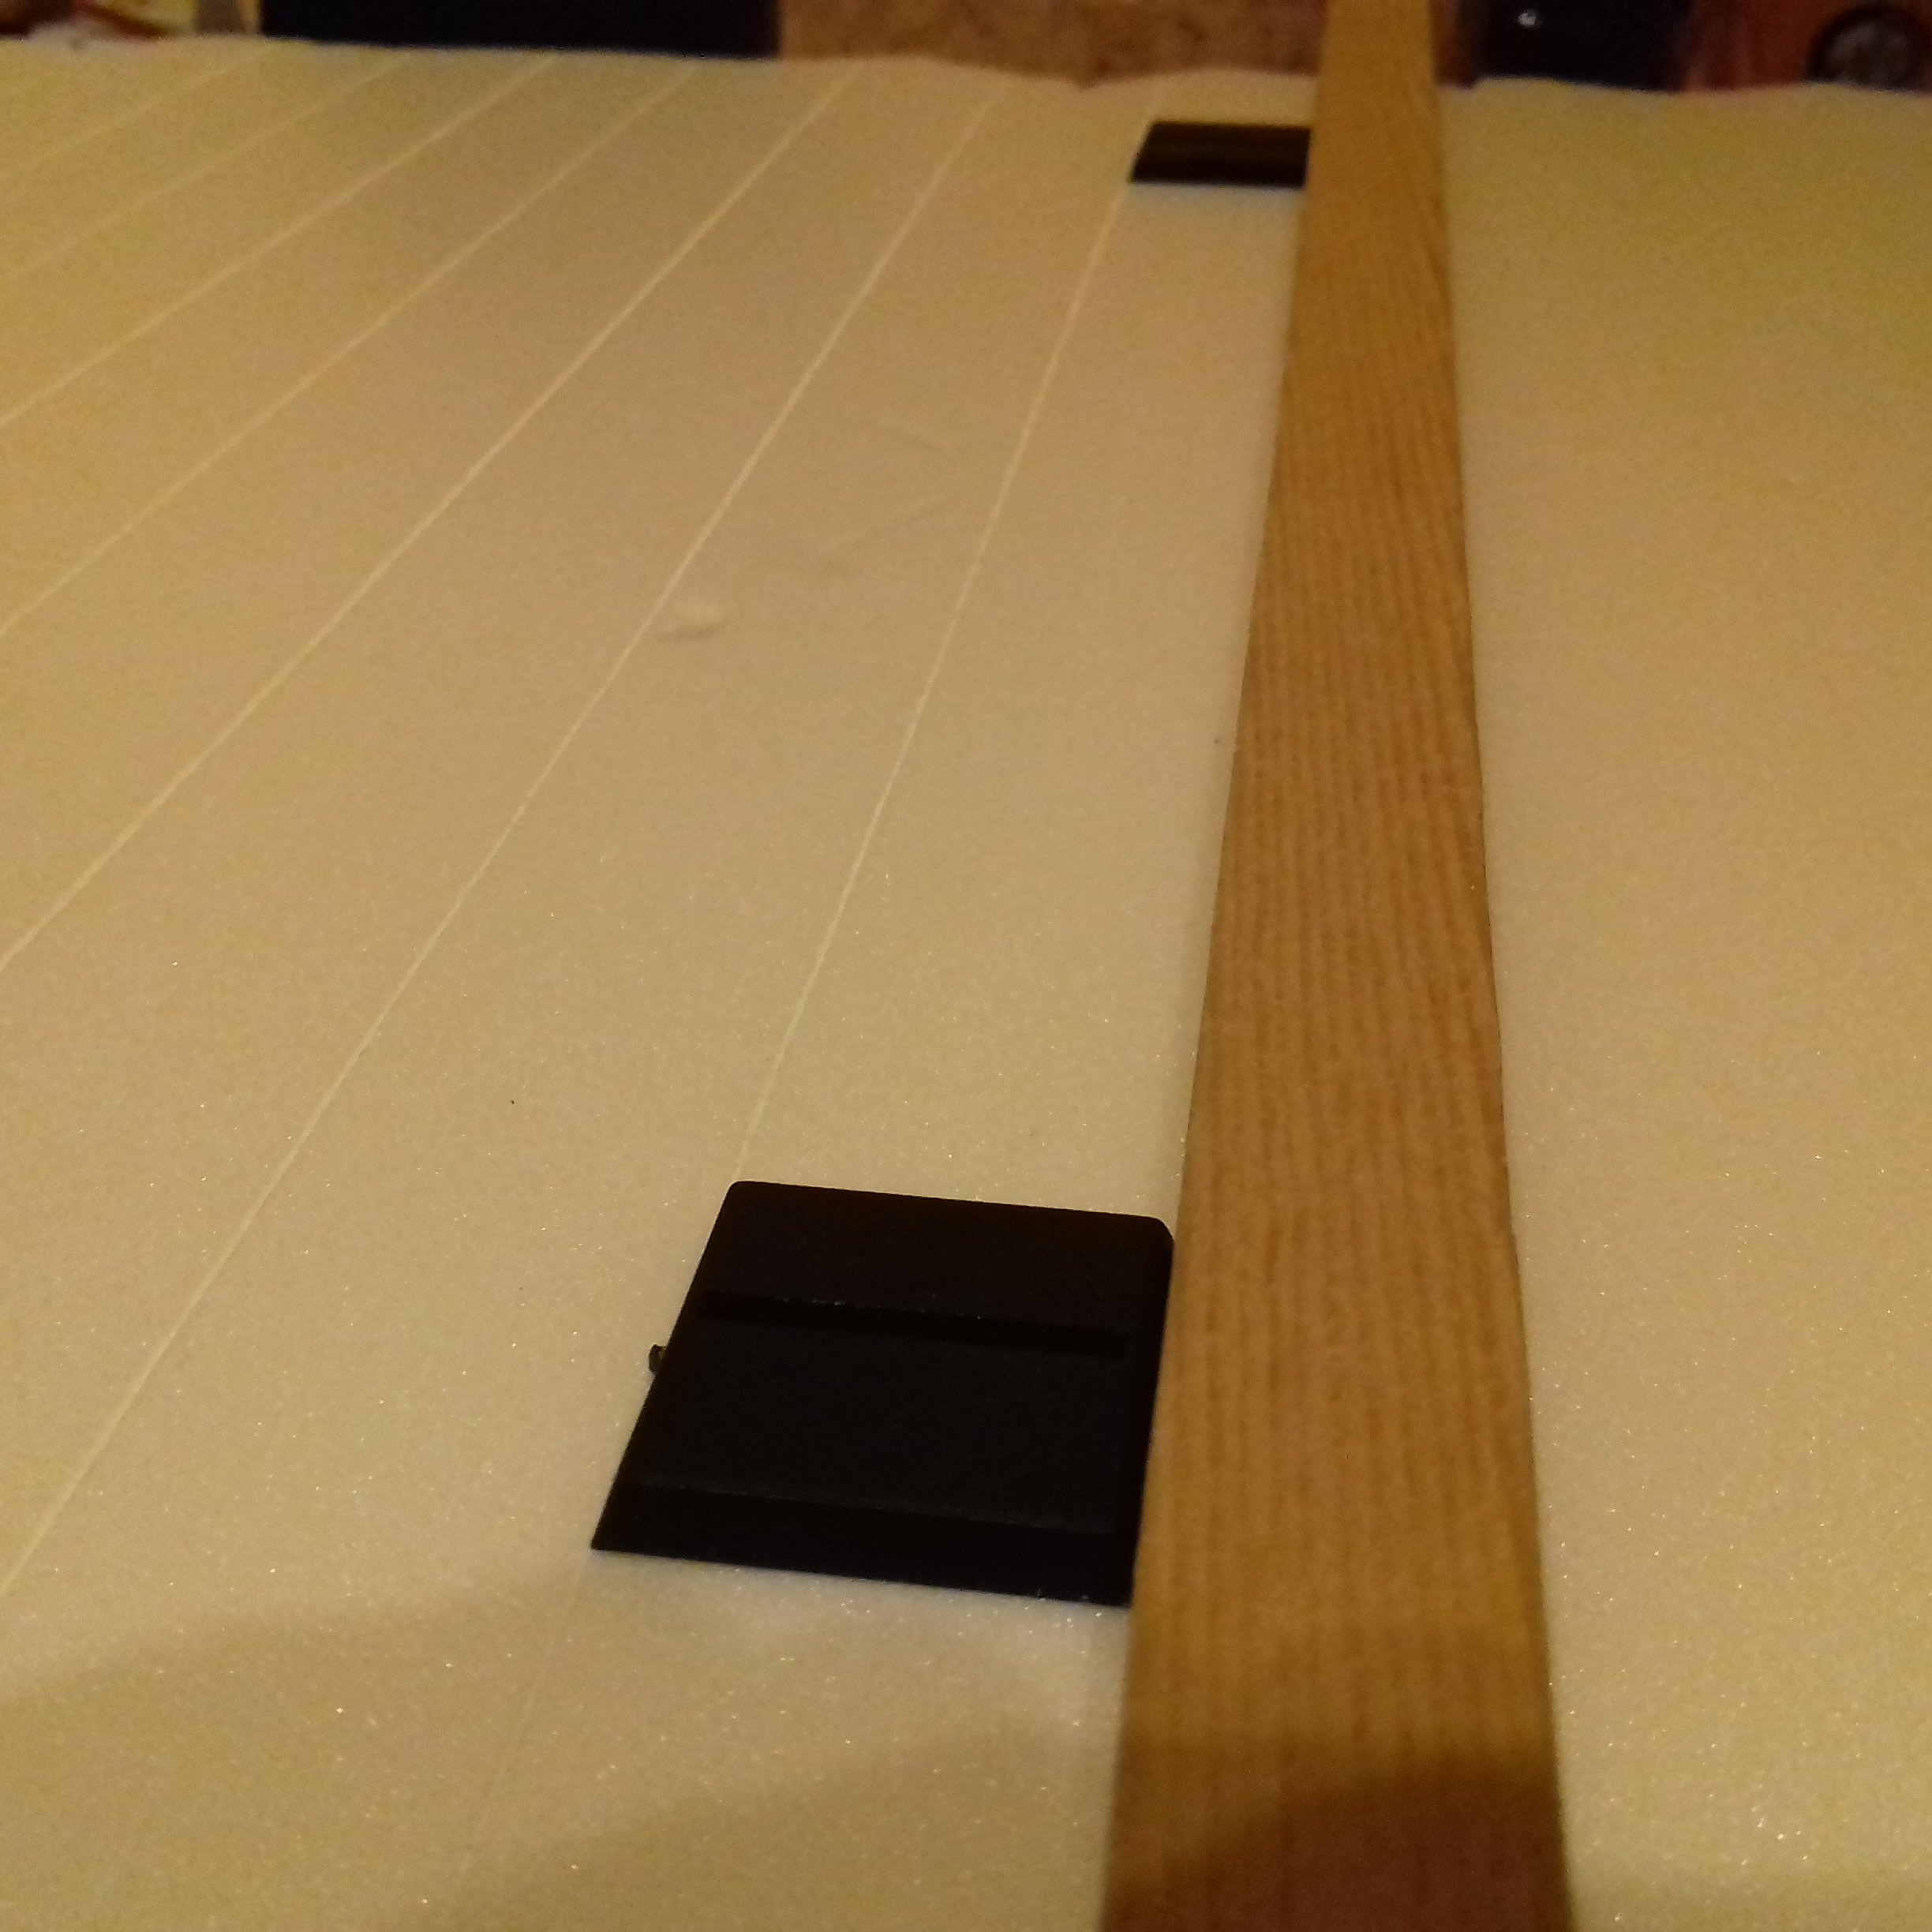
Find one by one square piece of something. I’ve got base plate left from my Games Workshop minis. And let’s start!

1×1” base can be very handy in context of cutting nice polystyrene foam parts. You can use ruler of curse, but in case  foam piece grater than your ruler, or in case you lost one in your mess, you can do something like I did on the photo bellow.

Your one may help you also to build larger structures. Very big base plate for you dungeon is something you should definitely have! Shoe to make one with a nice inch grid you will need to use some big ruler. And even then, because you probably have quite thick foam it might be hard to move the dimensions from the measuring mat on right places. Or you can do it, as I did it. I just took a thin plank and two mini base plates. Bases added two points need to arrange my plank. Then just nice small cut with knife. And line by line you will get your grid.

Enjoy!

Wooden Floors

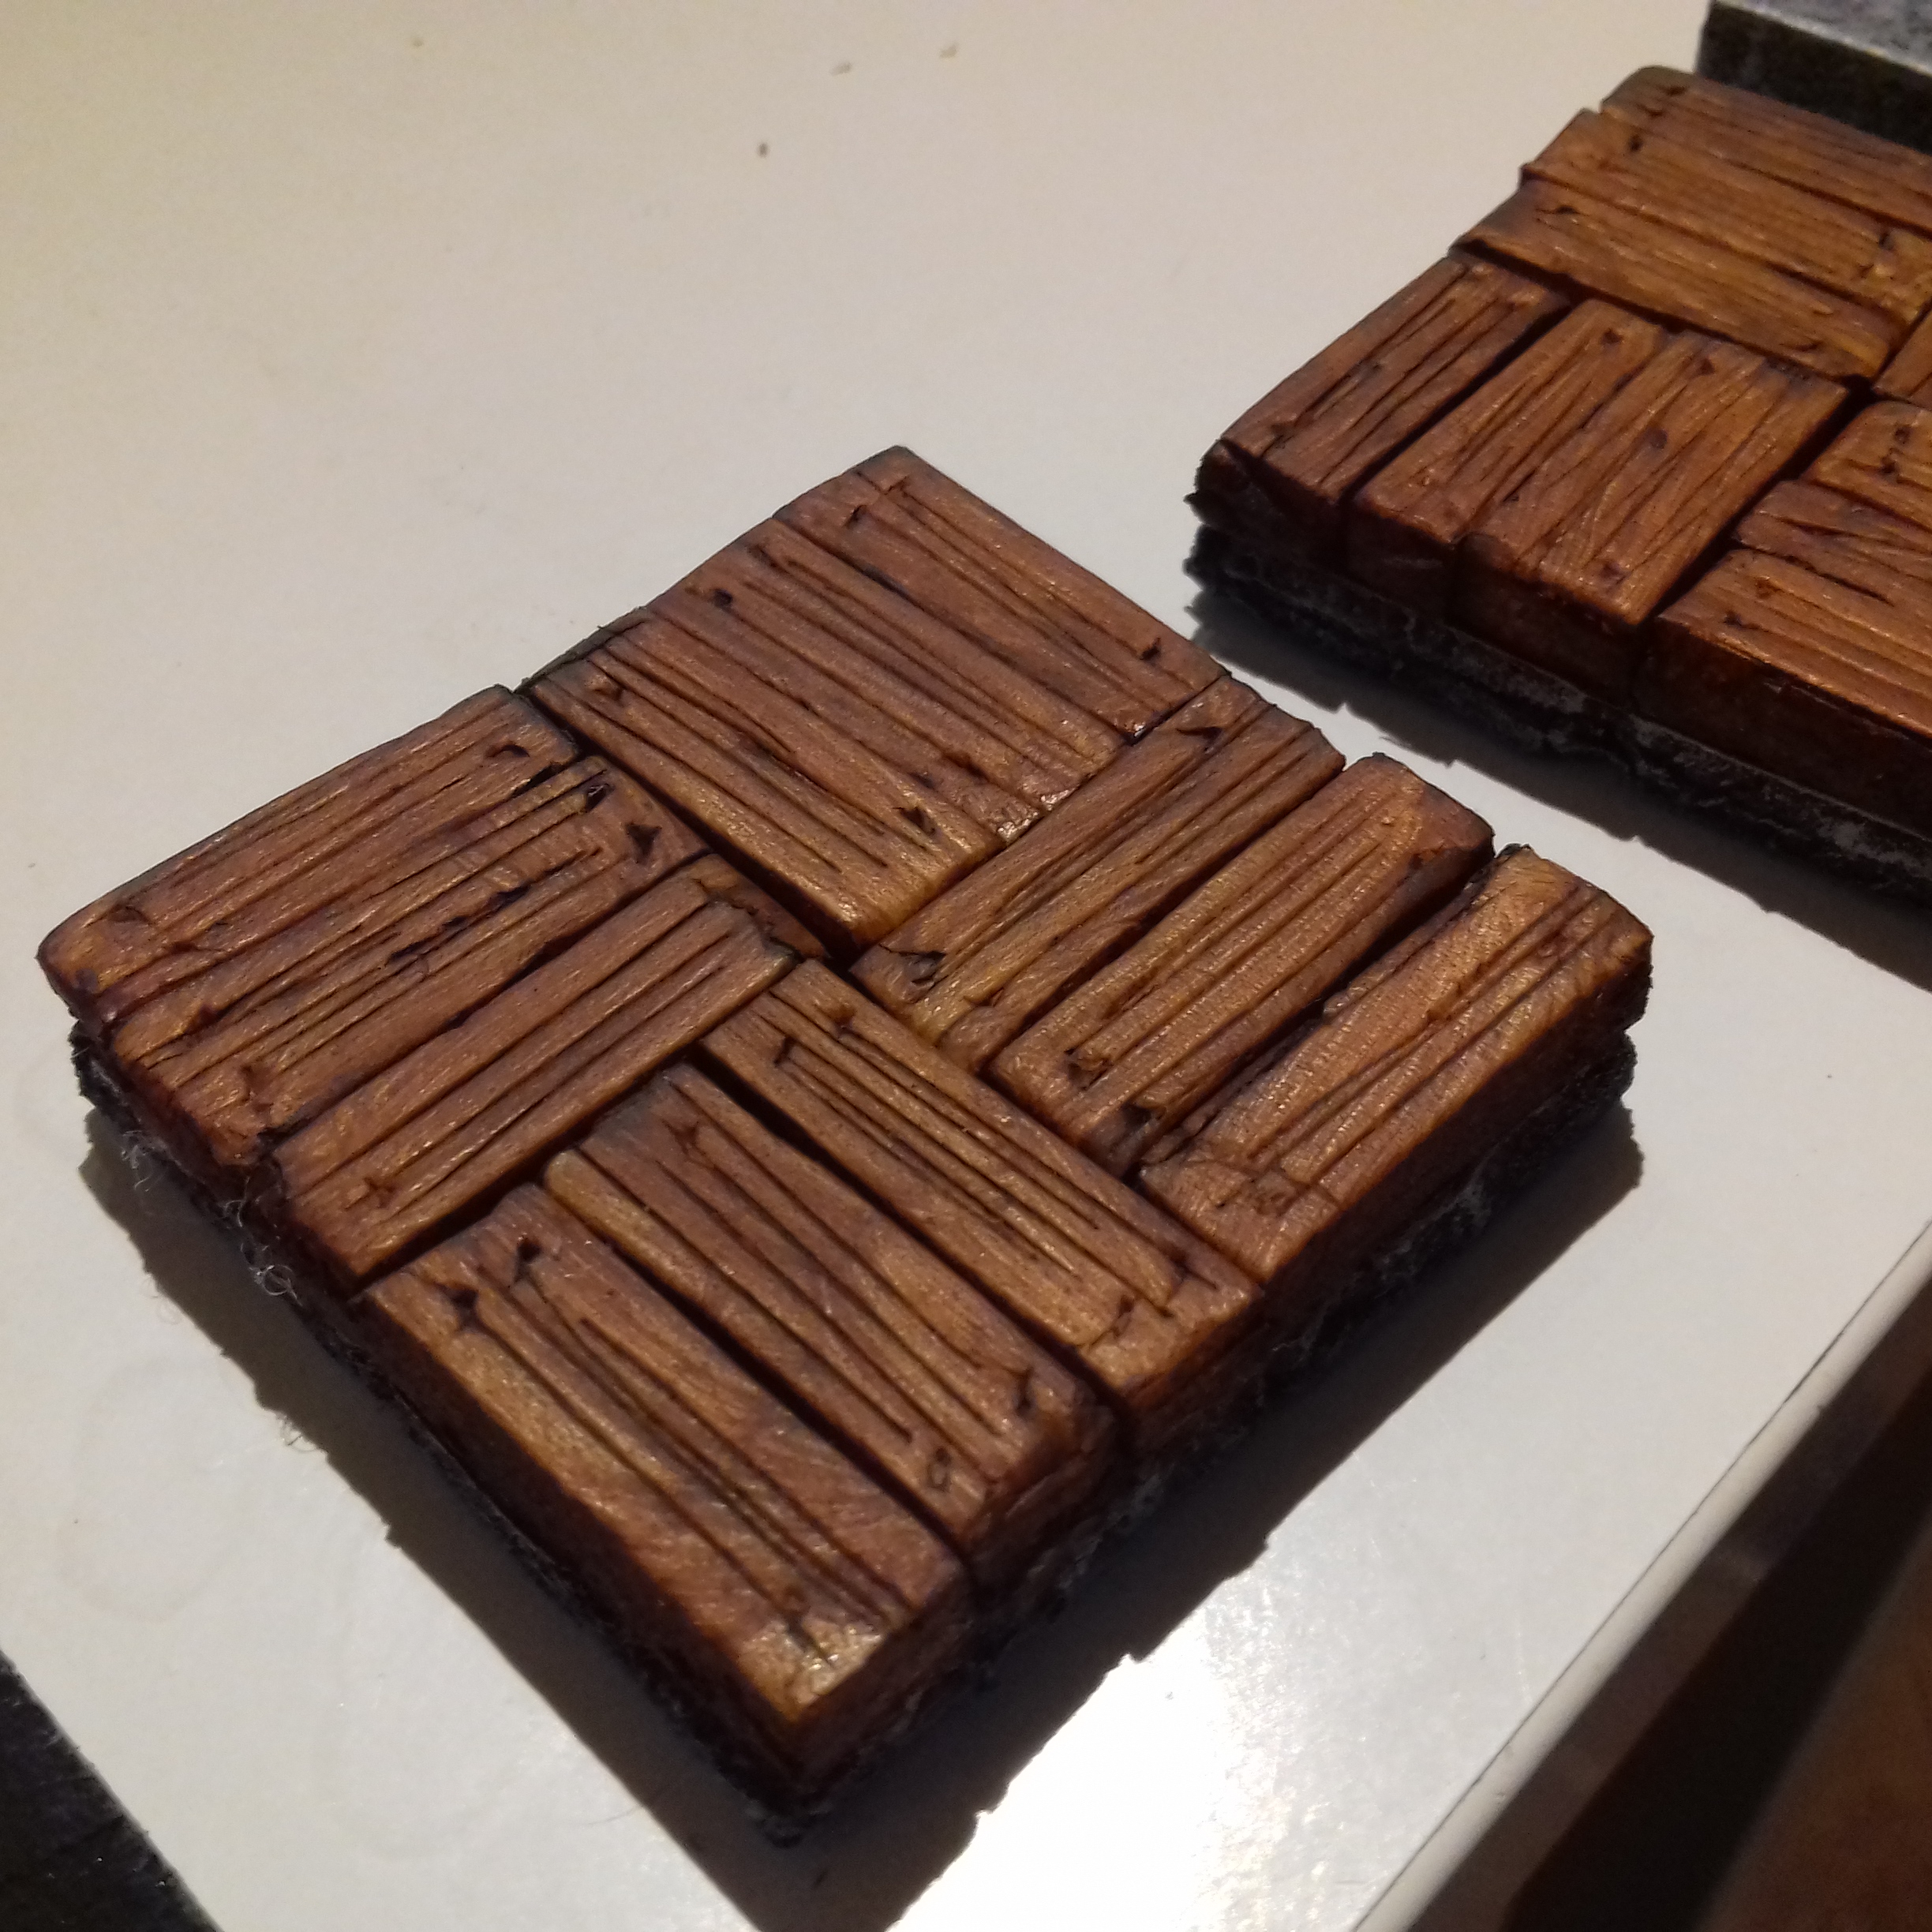
It is time for wooden floor for our D&D bridges and taverns!

And we make it two sided.

Preparation

First you will need to take sheet of polystyrene foam. I’ve have here one like ~20mm thick. For each floor part we will need two same size pieces. Here I got six 8×2 inc. parts.

On three of them I added flagstone cuts with my sharp knife. You can find also some breaks to show how old those road parts are. With sandpaper I also added another bit of destruction (it will look nice at the end).

Next step is to paint with base black paint them from all sides. You should have something like below.

Wait until it becomes dry. Then paint one side with dark grey and light grey layers. I’ve made this with dry brush. You will something like this…

Time to start hard work!

You have to cut second part of styro. into planks.  You can first cut into 1×1 inc. part. Then each of those parts need to be cut into 3 separate planks. This will allow you to create a mosaic. This shape will allow your players (and you as DM!) easily find hero position during battle.

Next step will be to paint them with Burned Umber color (no black base paint this time!) Light color of foam will be our base here.


Binding all of it together

You should finish with a number of these little nice planks and 3 parts for stone floor. Now you have to bind them with hot glue.

You take 3 planks and glue them into dark side of floor part. Keep eye on the sizes! 3 planks should fill whole 1×1” and no more. Also keep in mind to create mosaic from them. So 3 planks on one inc. goes horizontally and 3 on next goes vertically.

You should end up with something like bellow.

Time to play in tavern!