Here is another monster crafting video. Checkout quick tutorial on how to make your own Gelatinous Cube, one of the most classic d&d monsters. I have to admit, first time I’ve ever seen Slime / Gelatinous Cube in use was in one of Hank’s older videos regarding campagin startes (this one: https://www.youtube.com/watch?v=AIFxPXlTzlQ). And here is my final version with a lot of hot glue.
Vangmar.pl Posts
Checkout work progress on one of ICRPG sessions. Here is classic d&d monster, Beholder with big eye!
Hello again! Here I like to share with you one of the main crafting parts of “Dark Woods of Gajen”, which are the Trees. There is a number of them. And each got its own nature, shape, fill.
But to the point! You will need few nice parts of foam. Since we like to have trees standing on 2×2” base you should find styro. with around 2” thick.

Cut those into cuboids with height between 2” – 9” – depends on how big tree you like to have.

And now quick jump. I will show this in more detail on my video. In general you have to cut foam to shape tree. So first shape a cylinder keeping in mind that you will cut a hole at the bottom to put LED light. Then use some kind of chisel and punch bark texture. This should rough so no worries, it can’t go wrong.

And here how it looks from back side…

I’ve added white sticks with hot glue to emphasise old age of those woods. Don’t try to have very similar looking tree faces. I’ve good once with horned kind of head and many different.

How to shape the face? I’ve got no idea.
What I did it was very simple quick decision that I like to have something looking like old thinker. What is good here, those are trees, right? So it really doesn’t need to look like perfect cute face.

Keep in mind you will also need some pure trunks. Maybe with hollows and mushrooms. So cut them as well.

So you should end up with a number of those kind of sculptures.

Here you should try to put LED light inside of those, which may be enchanted. One important thing – do not glue LED light inside of tree! You will need first to put base paint inside. Then you can glue.

I strongly recommend to use burnt umber as base coat. It looks very nice. And even without additional layers it is already playable – at least for me


You will need to wait some time until base paint dry. Then suggest to use dry brush technique with lighter version of this brown color.

Keep in mind to put a bit of a paint inside of tree holes. It will look very nice later.

And basically here you have it! Enjoy!


In dark woods of Gajen there are places when shadows fills the air. In the night strange things moves between the trees and you pray to make the campfire long. Just to don’t go into the darkness. Don’t go to meet eyes of nightmares.
Let’s build a safe place for our heroes! Lets light the campfire!

We are starting with common LED lights, which you can find in markets. First you have to remove the cover of light. If you’re lucky, it will be easy. I was and it has been very quick job, so I could start dealing with foam and glue.
You will need a number of small polystyrene foam blocks – those will work as stones around central fireplace. Try to glue them leaving little space around LED diode.

During stones cuts you will probably find some foam trashes laying around – don’t throw them away! Take you hot glue gun and create nice layer around LED. Then drop those small bits around. This will show up later as embers and ash.
Now you can also take some nice and very small sticks. Glue them over embers to shape central part of your campfire.
Time for base paint!

I decided to paint everything (except the diode of course) with black base. You could try to use burned umber as base on sticks, but really you can add it as a layer on black base later – no problem at all.

Now make a coffee, take a walk, find optional quest in local bar.
When you’re base paint is dry, take dry brush. For stones I’ve used two layers of grey – first dark one and a little bit later lighter version. It was almost white to be honest. For planks / sticks I’ve took burnt uber with a little drop of white paint.
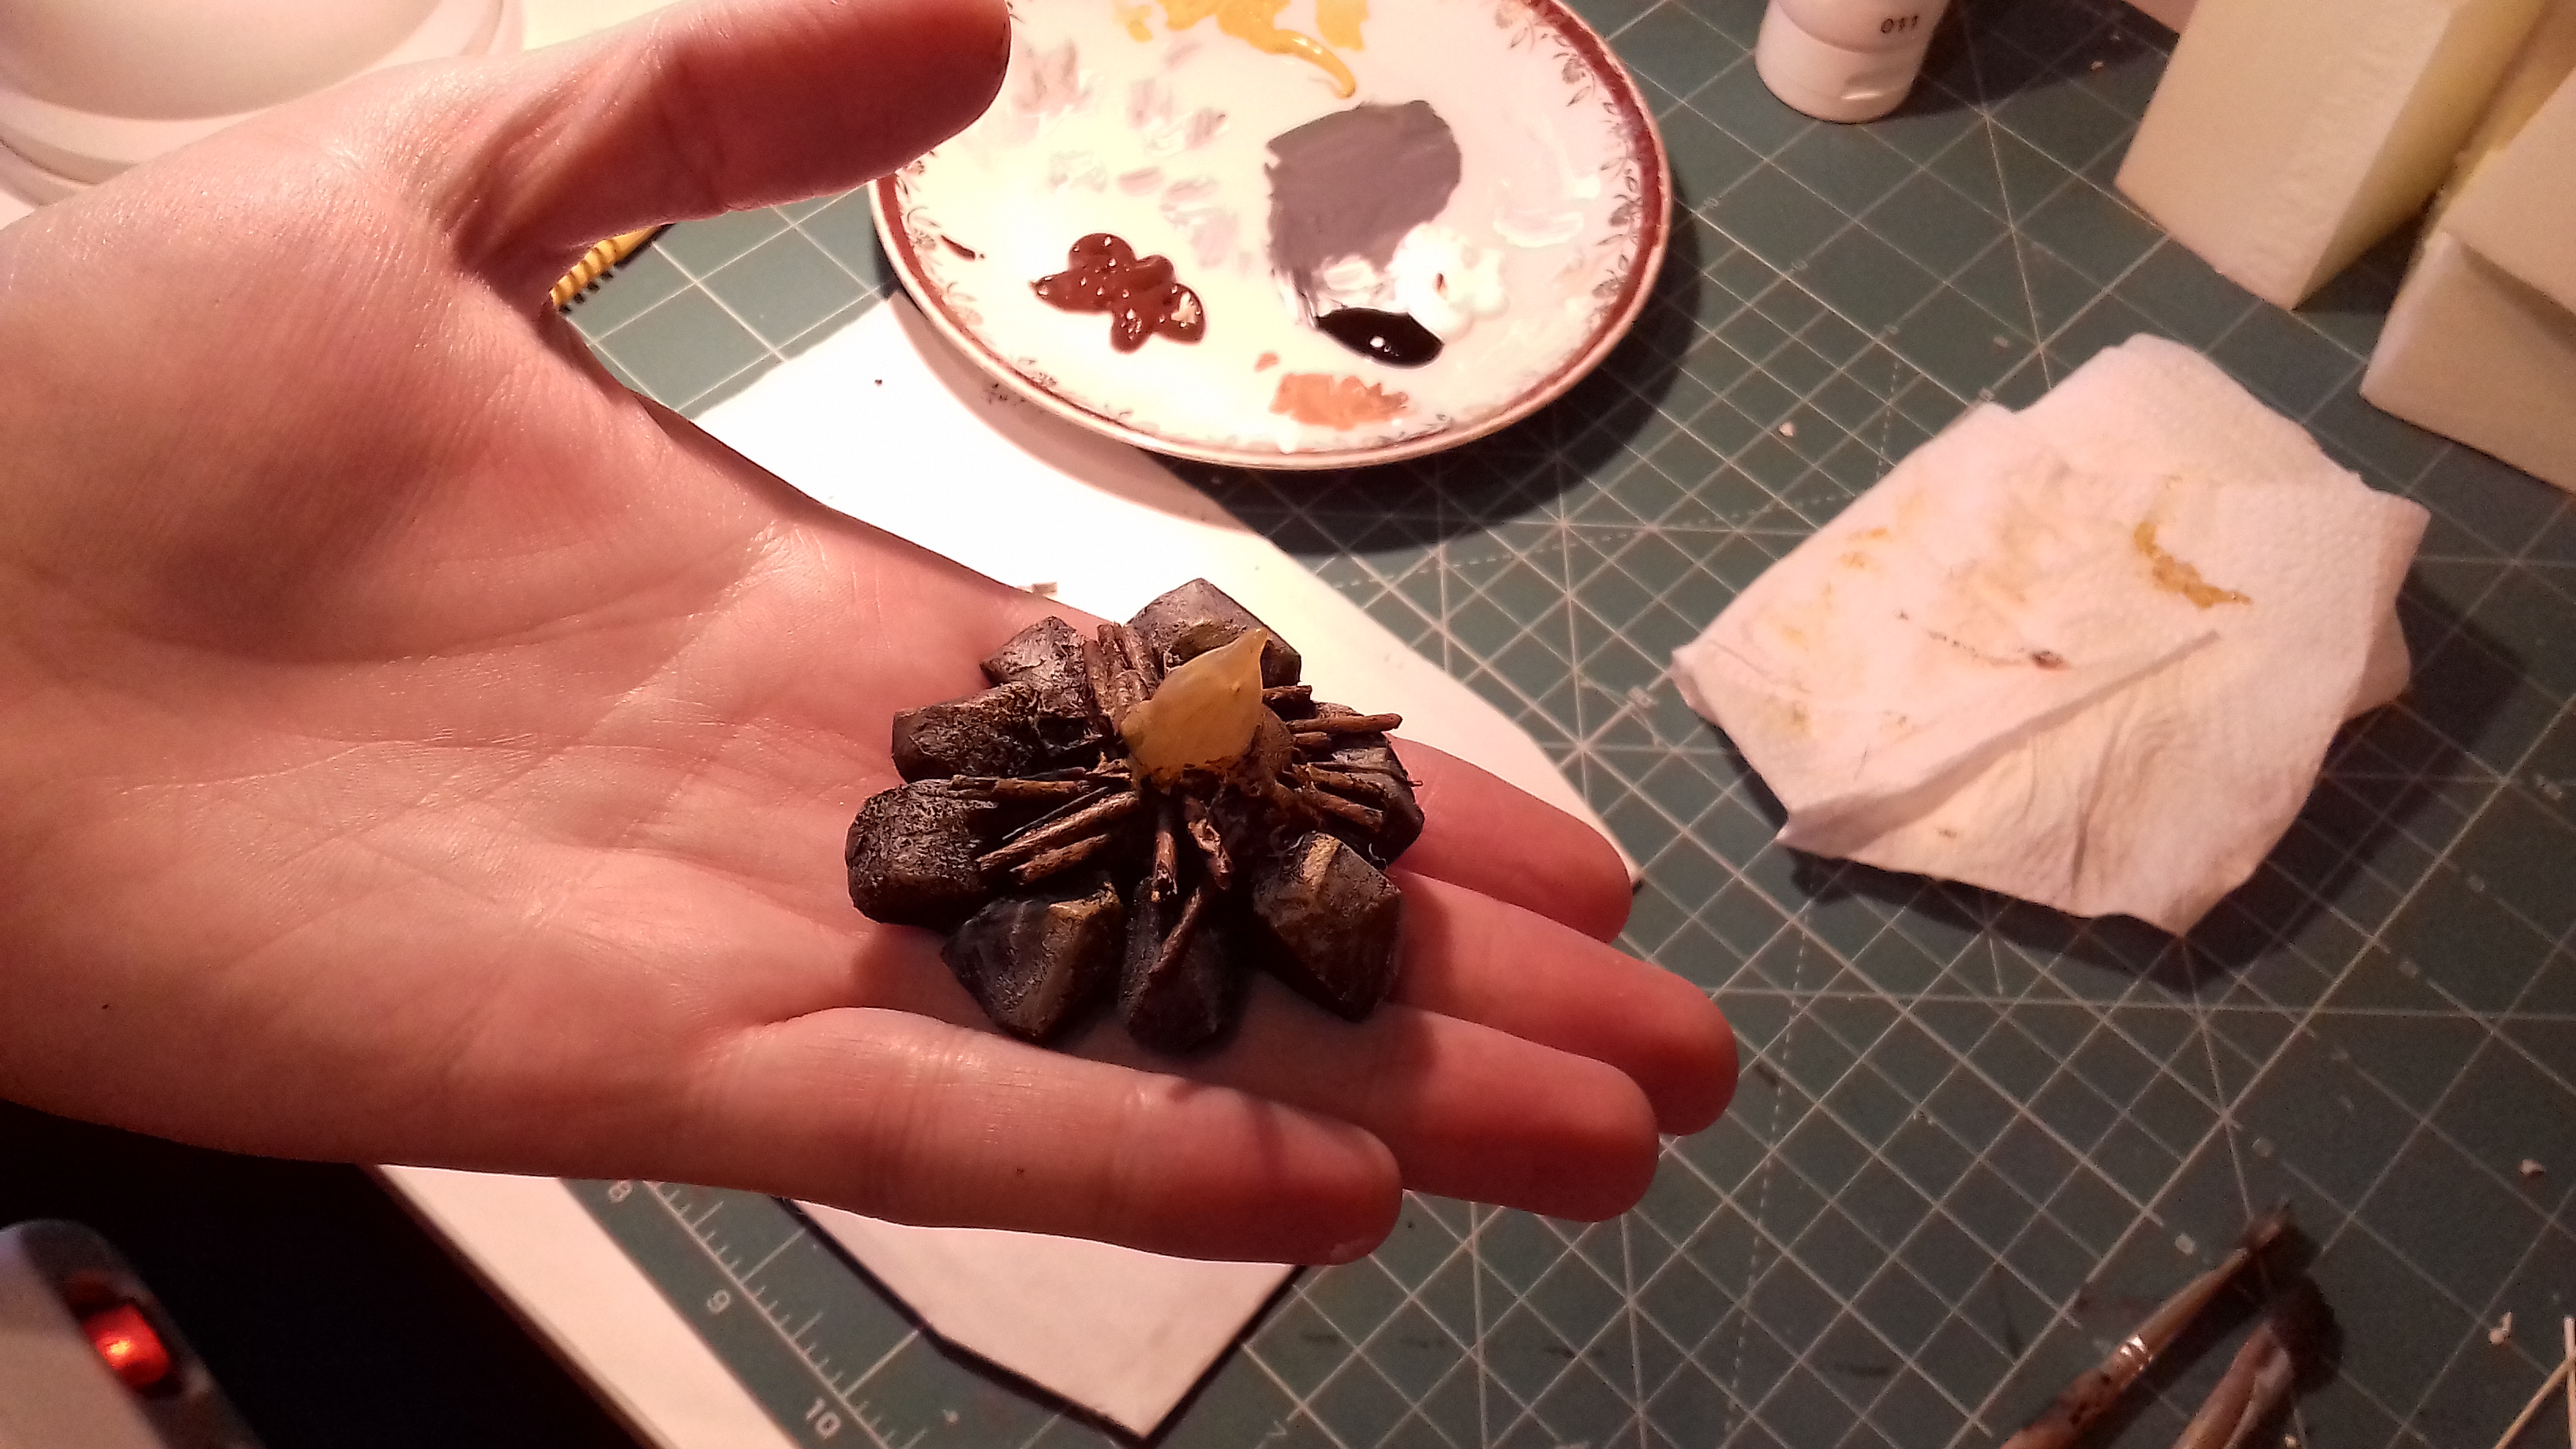
The very crusial bit, was regarding warm yellow highlight. And you definitly should try do the same. So when you stones and burnt wood looks nice take a little drop of warm yellow color and apply it with dry brush. Do that on LED diode, central part of sticks and even on stone edges exposed to light outbreaks.
You will end up with something like this…

Happy? I hope you are! And your players will enjoy campfire in Dark Woods of Gajen!
Trick or threat?
I definitely prefer trick. And in next couple of days I like to share with you my fantasy setting called The Dark Woods of Gajen. Welcome to the evil forest, where anything you see may turn into your worst enemy.

I like to start with crafting tutorials, so you will be able to find out how to make your own campfire and evil wood. I also got some marshes bits and the central stone of ancient force hidden inside of it.
After ages broken force circle caused this ancient dream creature to wake up and bring Raktahalm nightmares again to this old forests.
Yes adventuress, your enemy is an ancient stone hidden deep in to cursed woods. Beware! And be brave! Fight is coming!
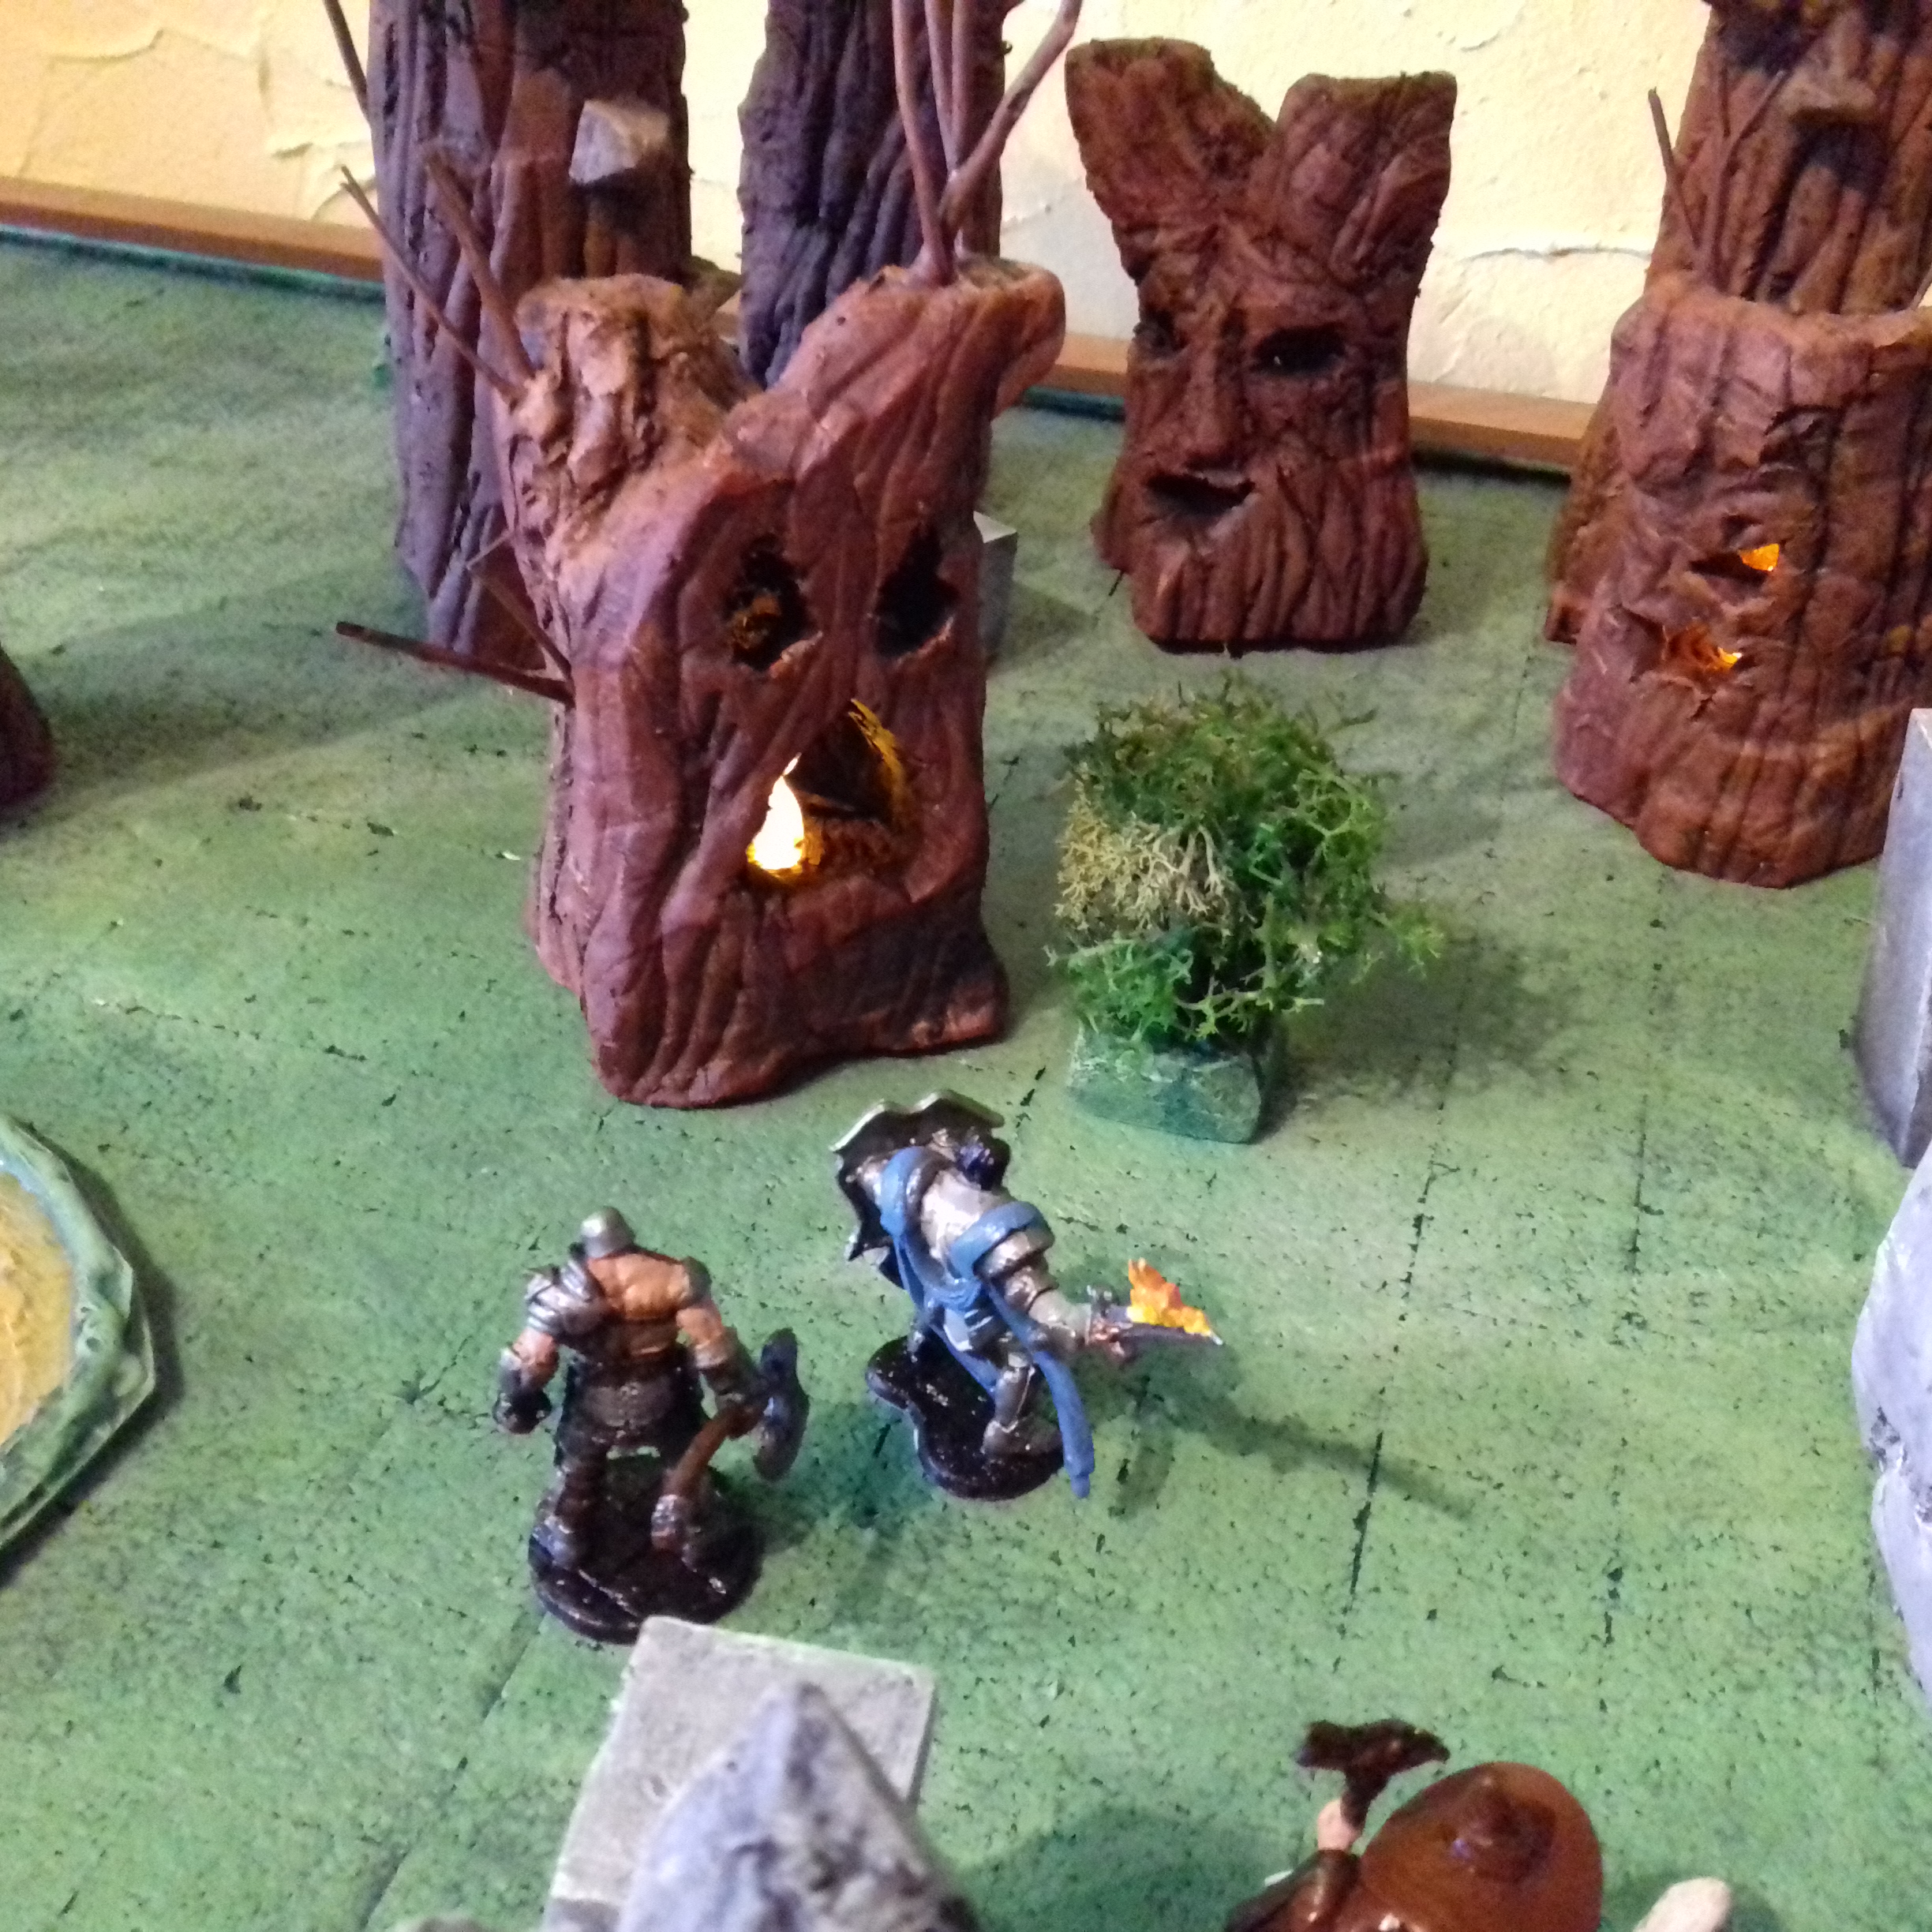
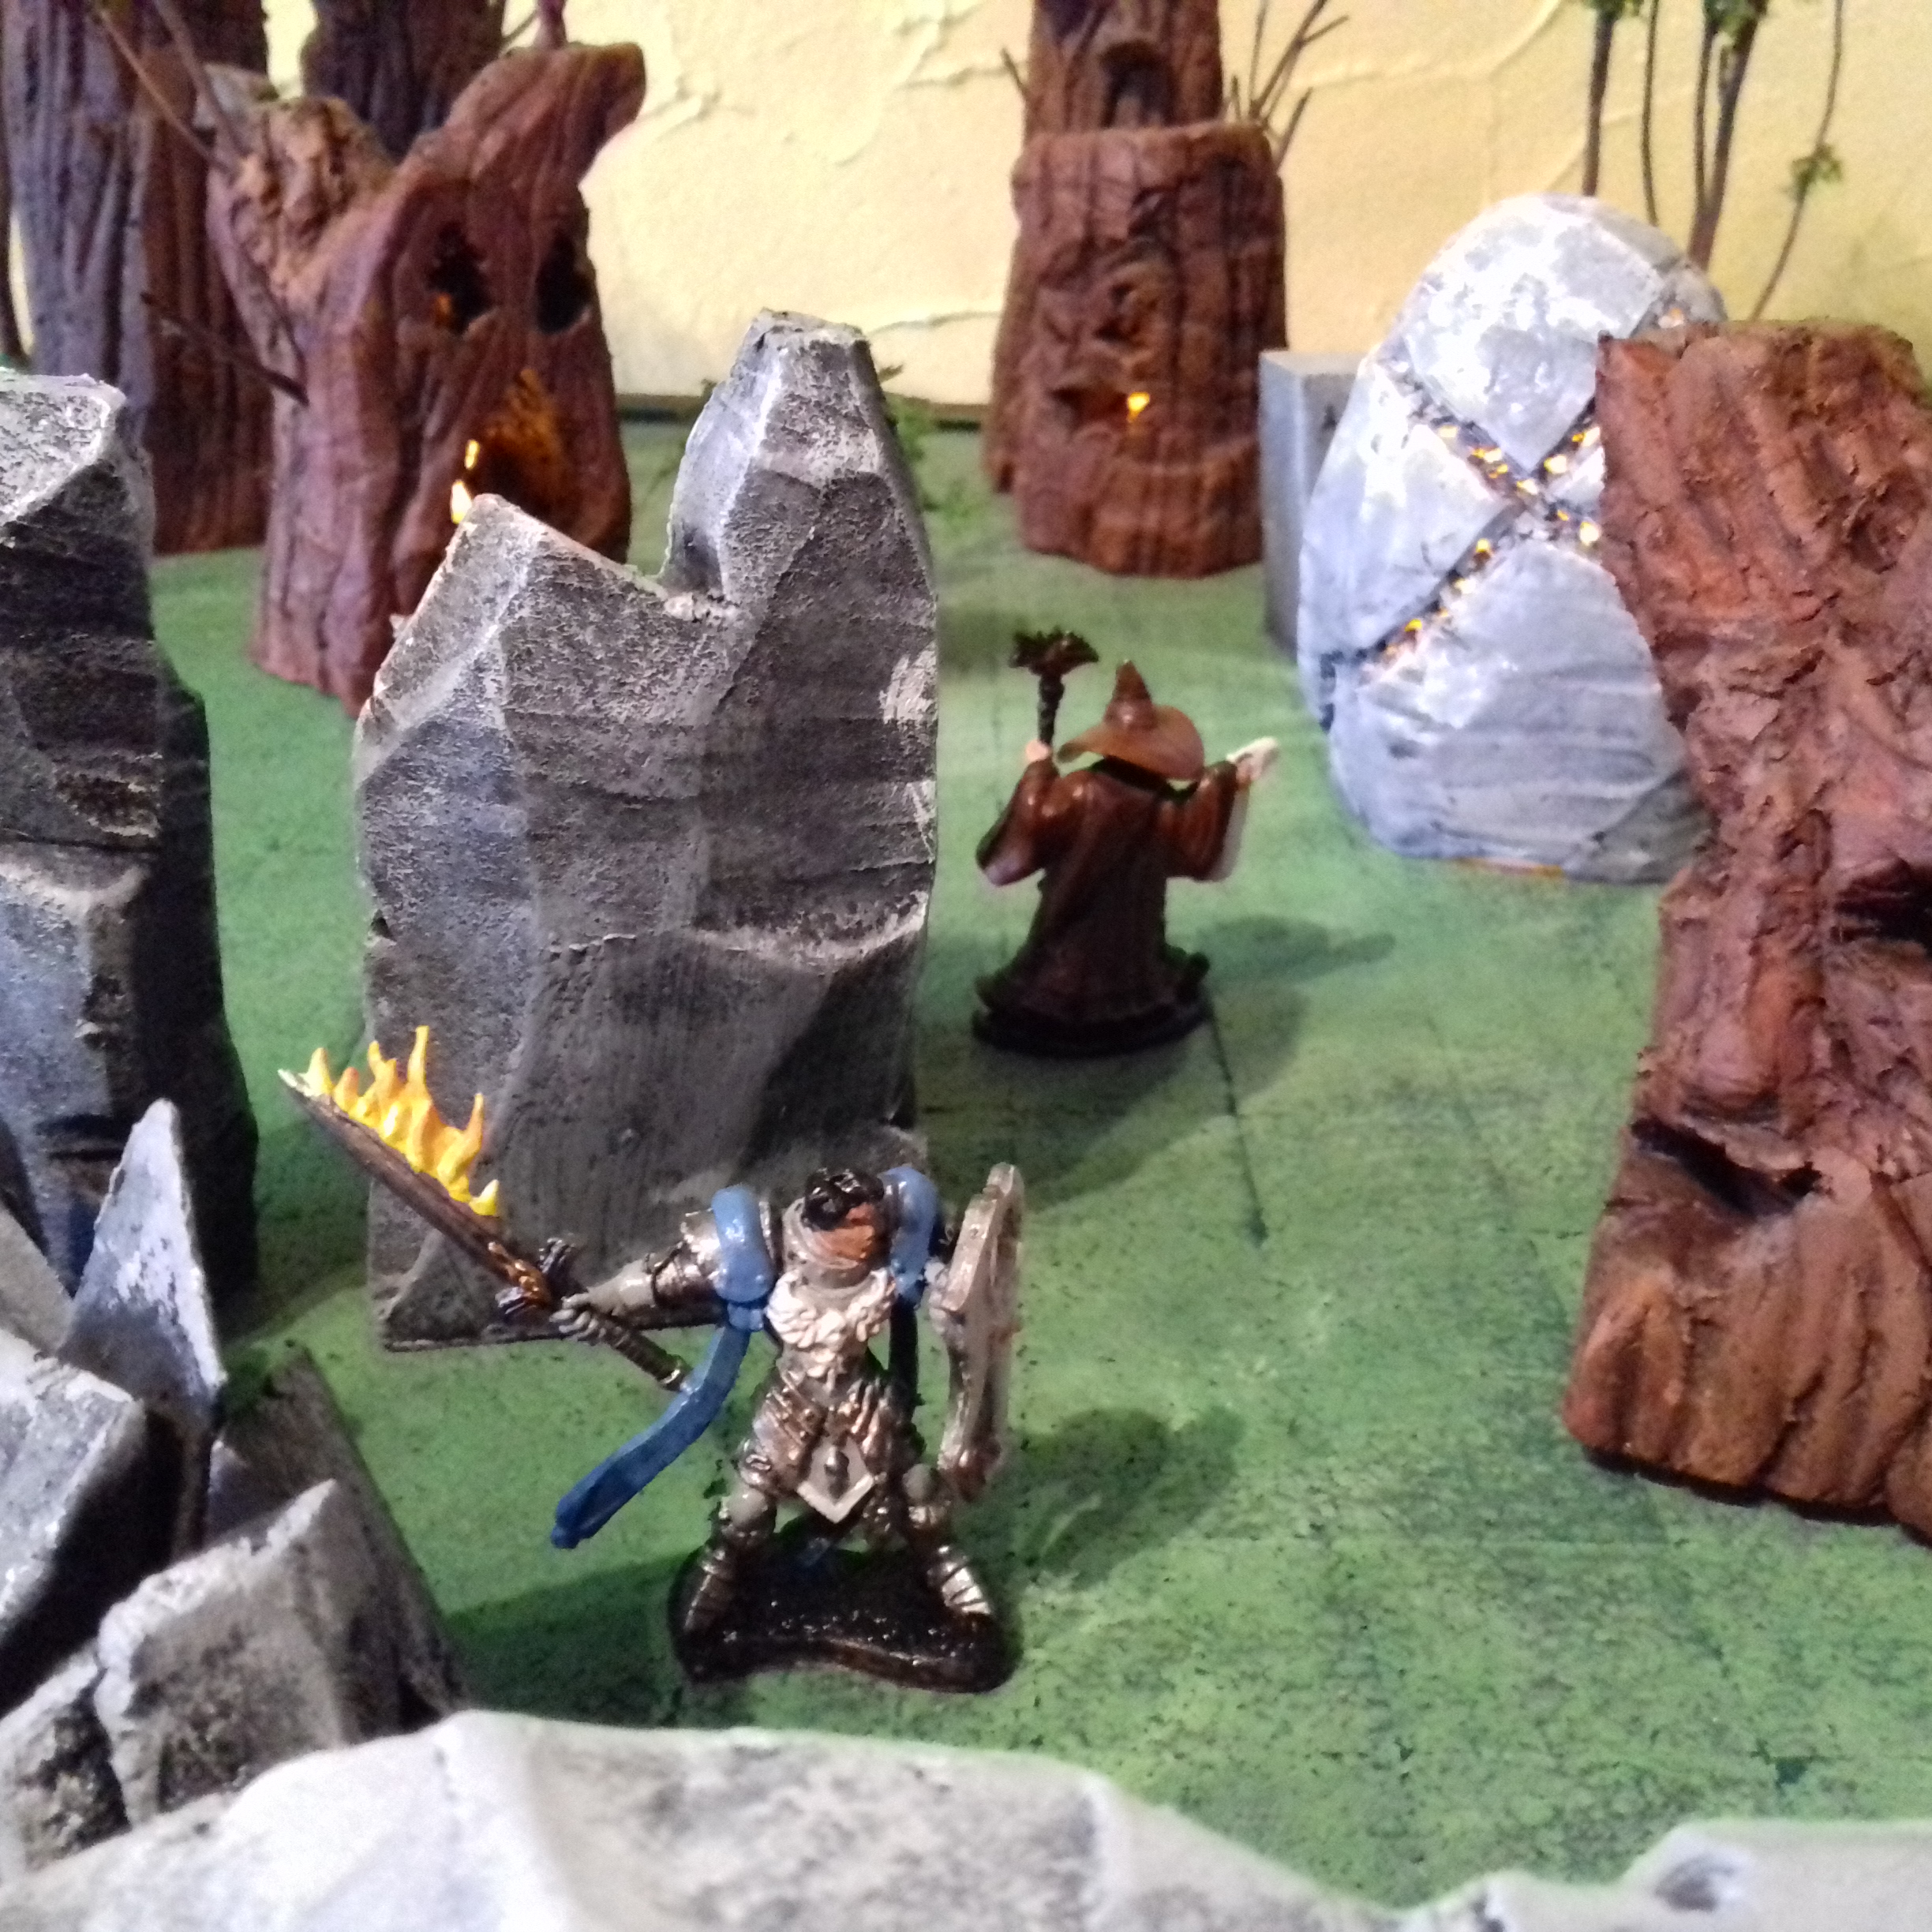
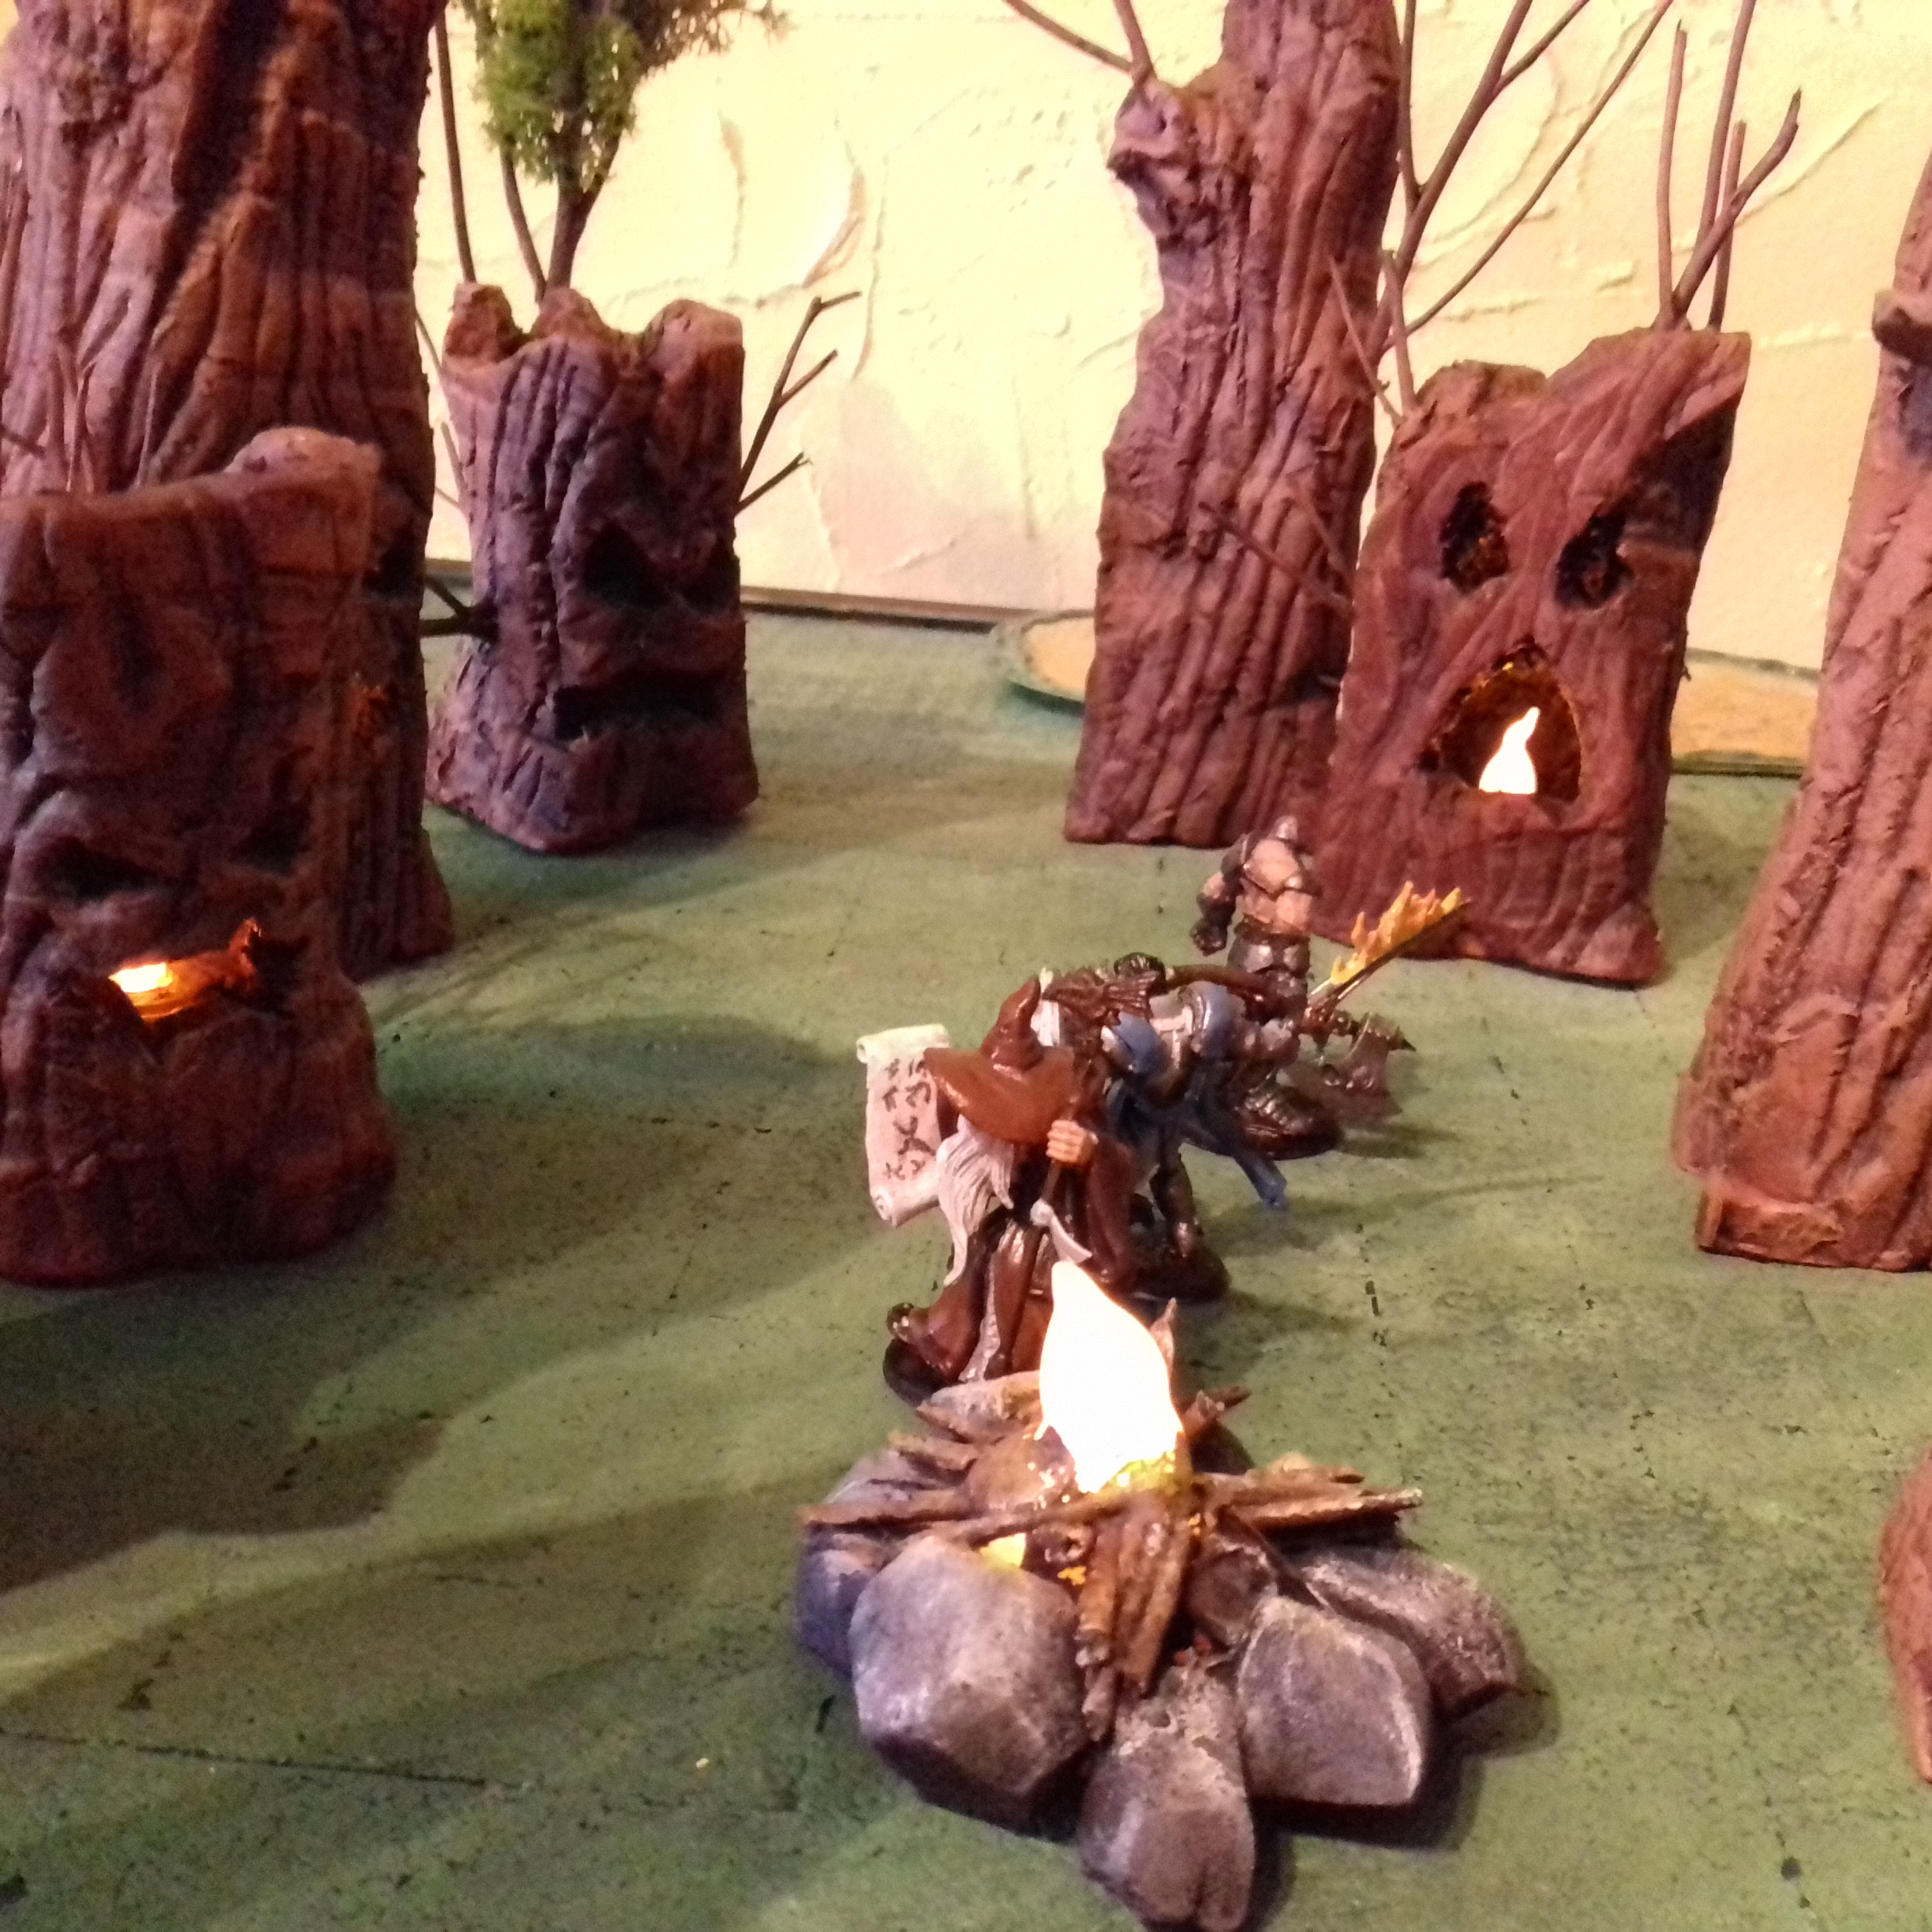

Today something short, little tip tested regarding adding weight to the foam elements. You know the problem, with small effort you can blow them away from the table, especially those little bits you’ve created. Better to add weight to them. How?
I tried something very simple with pennies. You can find other tutorials all around the net, Runhammer does it also. Very simple. You need just to cut to hole in bottom part of your sculpt.

Then you push penny inside of the hole with hot glue. Use more glue you think you will need. Cleanup is easier, than starting again, because it become detached.
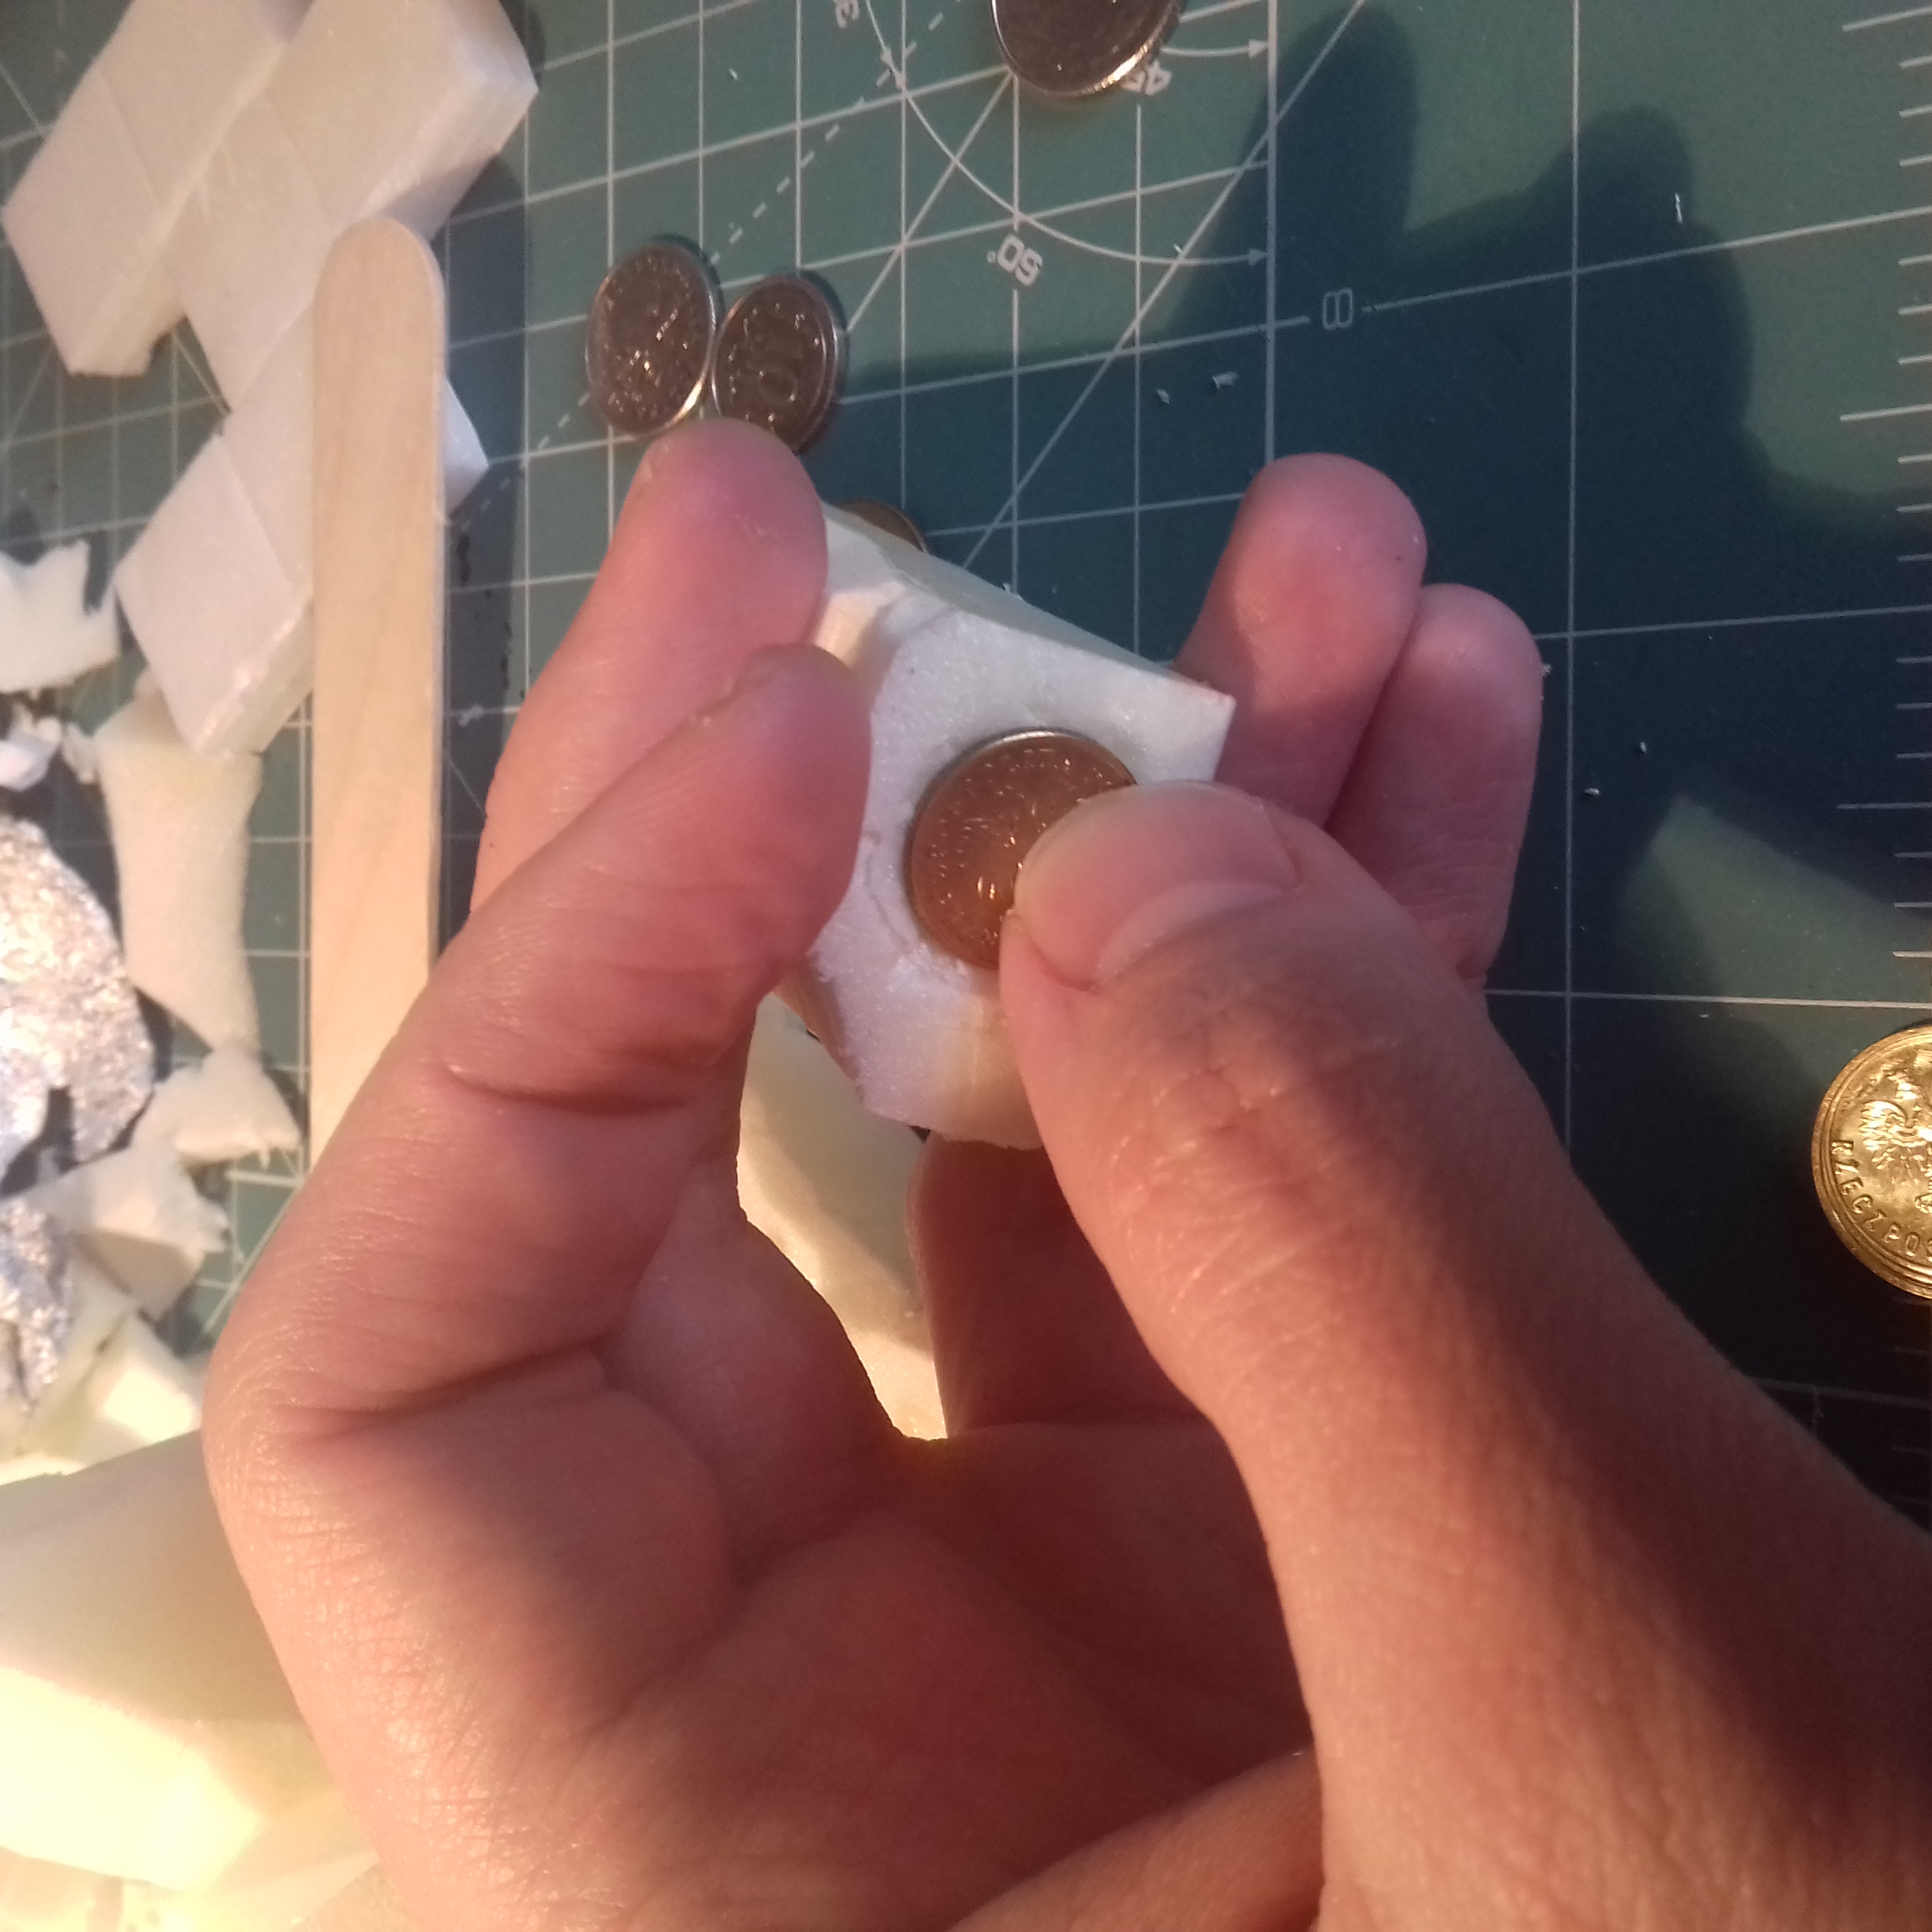
And you got it! Quick, simple and easy – really works!
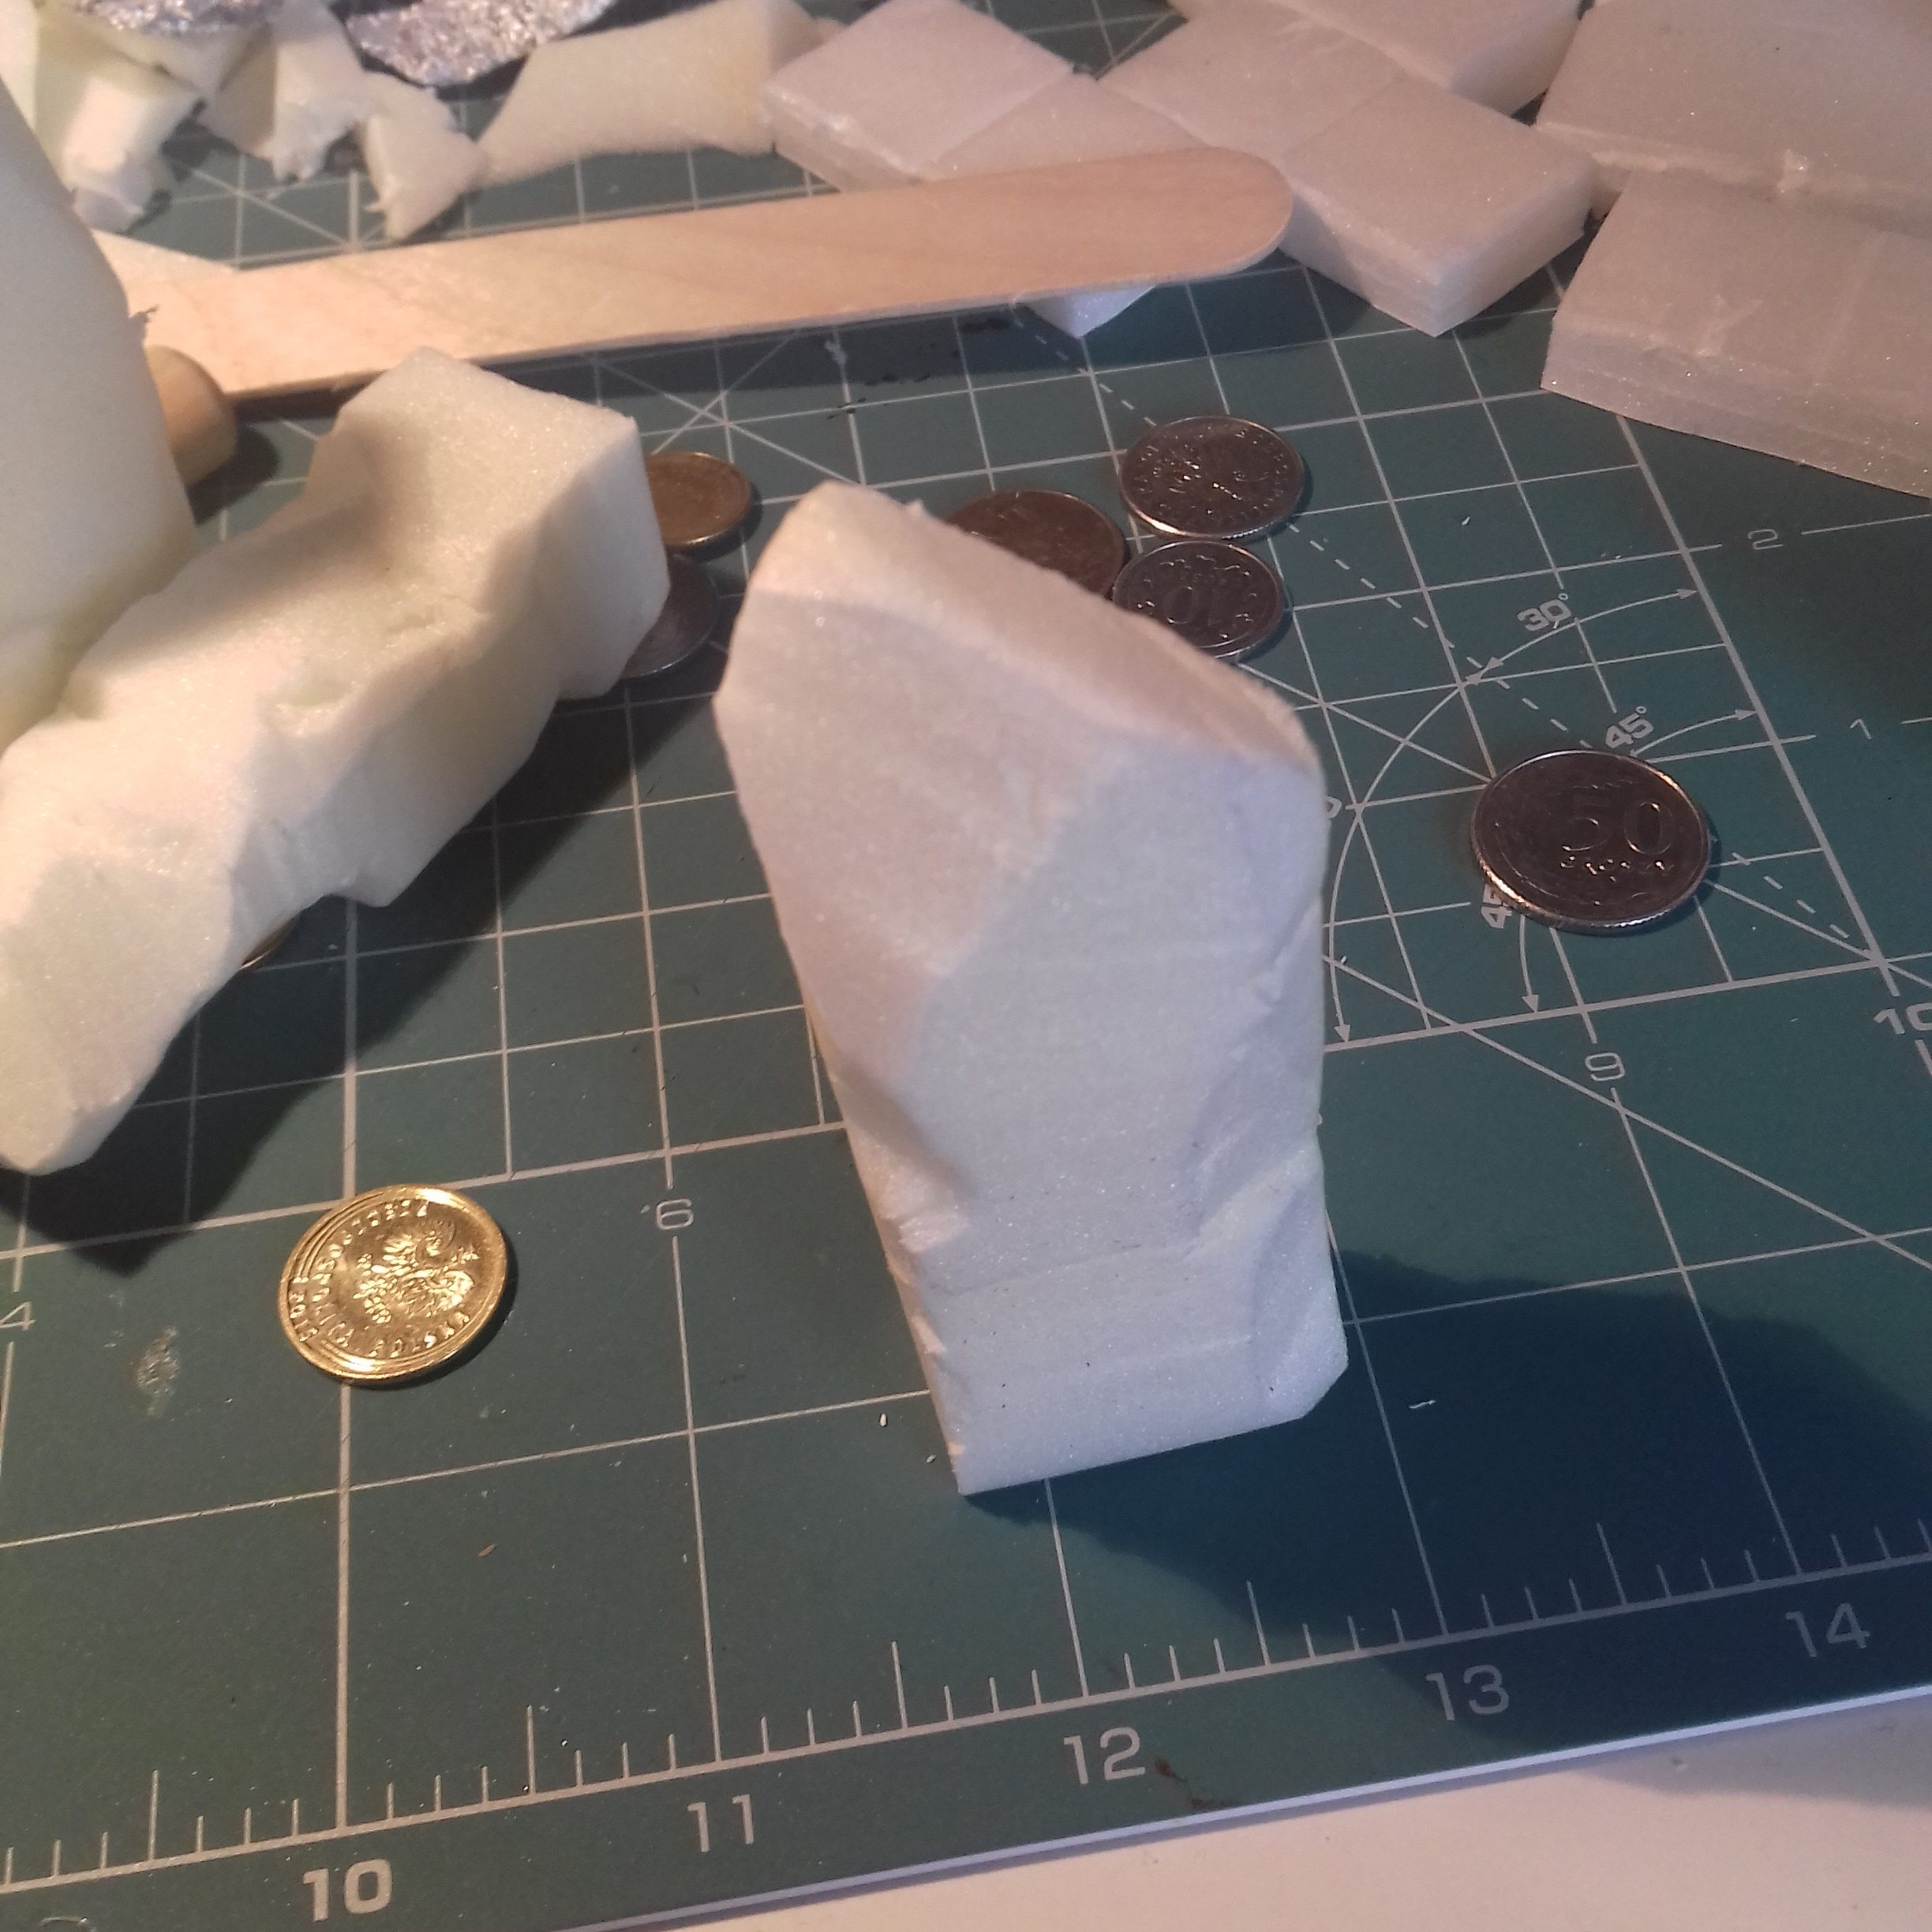
Now you can paint it and… to the table!
Strongly inspired by awesome idea presented by Runhammer right up here, I’ve created my own Stairs leading deep into the Underdark. Check out how to build The Shattered Stairs!

For this little one project, I’ve used my new iron dice found on local market in Cracow. Created in Chaos Forge by some… never mind, just check it out.
First we have to cut off nice sharp stairs. Long paper knife is perfect here.

You should end up with something like bellow.
Cut few additional breaks here and there. Stairs are old right, should look like old one.

Here my new magic iron dice come in to action. Let’s hit polystyrene foam with this heavy piece.

Nice. Now time for black base paint. I had to do it twice, since I had plenty of gaps after first – hope you will find it better. Furrows after the dice blows will appear in a moment.

Next thing is two layers of grey. First dark one and then lighter version to bring our stone to the shining.

Looks good right?
Let’s add little drop of white color on edges with dry brush. This hight light will add drama and contrast to the dark bottom part of our stairs.

Now we need to add little dark green / yellow bits. Kind of Underdark flora. Just little bits, not to much.

This little bridge in the middle will look as rescue for the team, at least until it will be destroyed by falling rock from some hidden ceiling.
Nice outcome when you drop a light on it. Finally step will be to play with this on dark board we’ve created at the start. This will introduce true sense of drop off.

The Shattered Stairs (second edition)!


If in some astounding coincidence the players get out from endless dungeon to the surface be prepared!
If you like to show them nice looking scenery, put there trees and bushes. Like this one:

You can create these using sticks found in a garden. In fact, they could be bitten by bewitched beavers, but hey, who cares, this will add level o chaos to the play.
I found nice bundle of sticks in our local IKEA store. Looks nice right?

And this was my inspiration to start. I’ve taken a little pieces of polystyrene foam and cut them into 1×1” or 2×2” rough squares. Then I’ve inserted a number of twigs into them. Each one has been enriched by hot glue.

Next step was base painting. For foam I’ve used simple pure black, while for sticks it was burnt umber.
You have to until base paint completely dries and then have to add second layer on both foam and wooden parts. I’ve used 1:1 mixed burnt umber and white color, to add reflections on the trunks.

Next step was with moss. You can combain few different colors of green. When your tree / bush part is ready just glue them on branches. Use a lot!
 And you have it! Put on the board!


Looking for nice base plate for your play ground terrain? Take pin board and turn it into two nice lands. Lets go to the forest. Find a cave. Then go deep to the Underdark!
First look at this scary dark board adds fear of falling right here:

This darkness around gives you focus, makes you stronger as a Dungeon Master!
Concept of dark base which gives you this nice perception of void comes from Drunkens & Dragons – cheers Hankrein, You are great man!
What we like to do here, is to extend the idea a bit, finding a way to have collection of base terrains like nice scroll-able box of vinyl records. It may help, when you don’t have much space in your home 😉
Fist we pick two-sided pin board. Go to some paper / office shop. You will find them in nice price for sure.
And those are two-sided right!
First we paint one side with deep dark color. Be careful, cork, which is a core material here, need to be painted with thicker layer of paint to hide cracks. Wait until it became dry.
And you have something like this:

x
Perfect and nice for dark places, caves, tunnels etc.

Ok, now flip it on the second side!
This one have 60 by 30 inches. Quite big one, you may have smaller for your collection if you like. By anyway this one will be our grass land for druids stone circle in the center. And we will have nice sword in center. Like Excalibur, from Legend of King Arthur. But this sword will be ugly. How ugly? You will see some day.
Anyway, to the point. We take sharp knife and add grid first. Very delicate. We don’t like to create holes, just to put a little lines, which will help us count moves during the game.

Now base paint. This time with a bit dark green color. Everything to hide natural cork color.

But this general dark green all around looks boring, right?
Fine, we will use sponge painting technique to add nice grass. Just mix green and white paint with a little grain of yellow ochre. Little grain means really little one.

Then we have to wait a bit until it dries.
Finally we have to deal with borders. I simply painted them with single layer of burn umber. And you have it my friend!

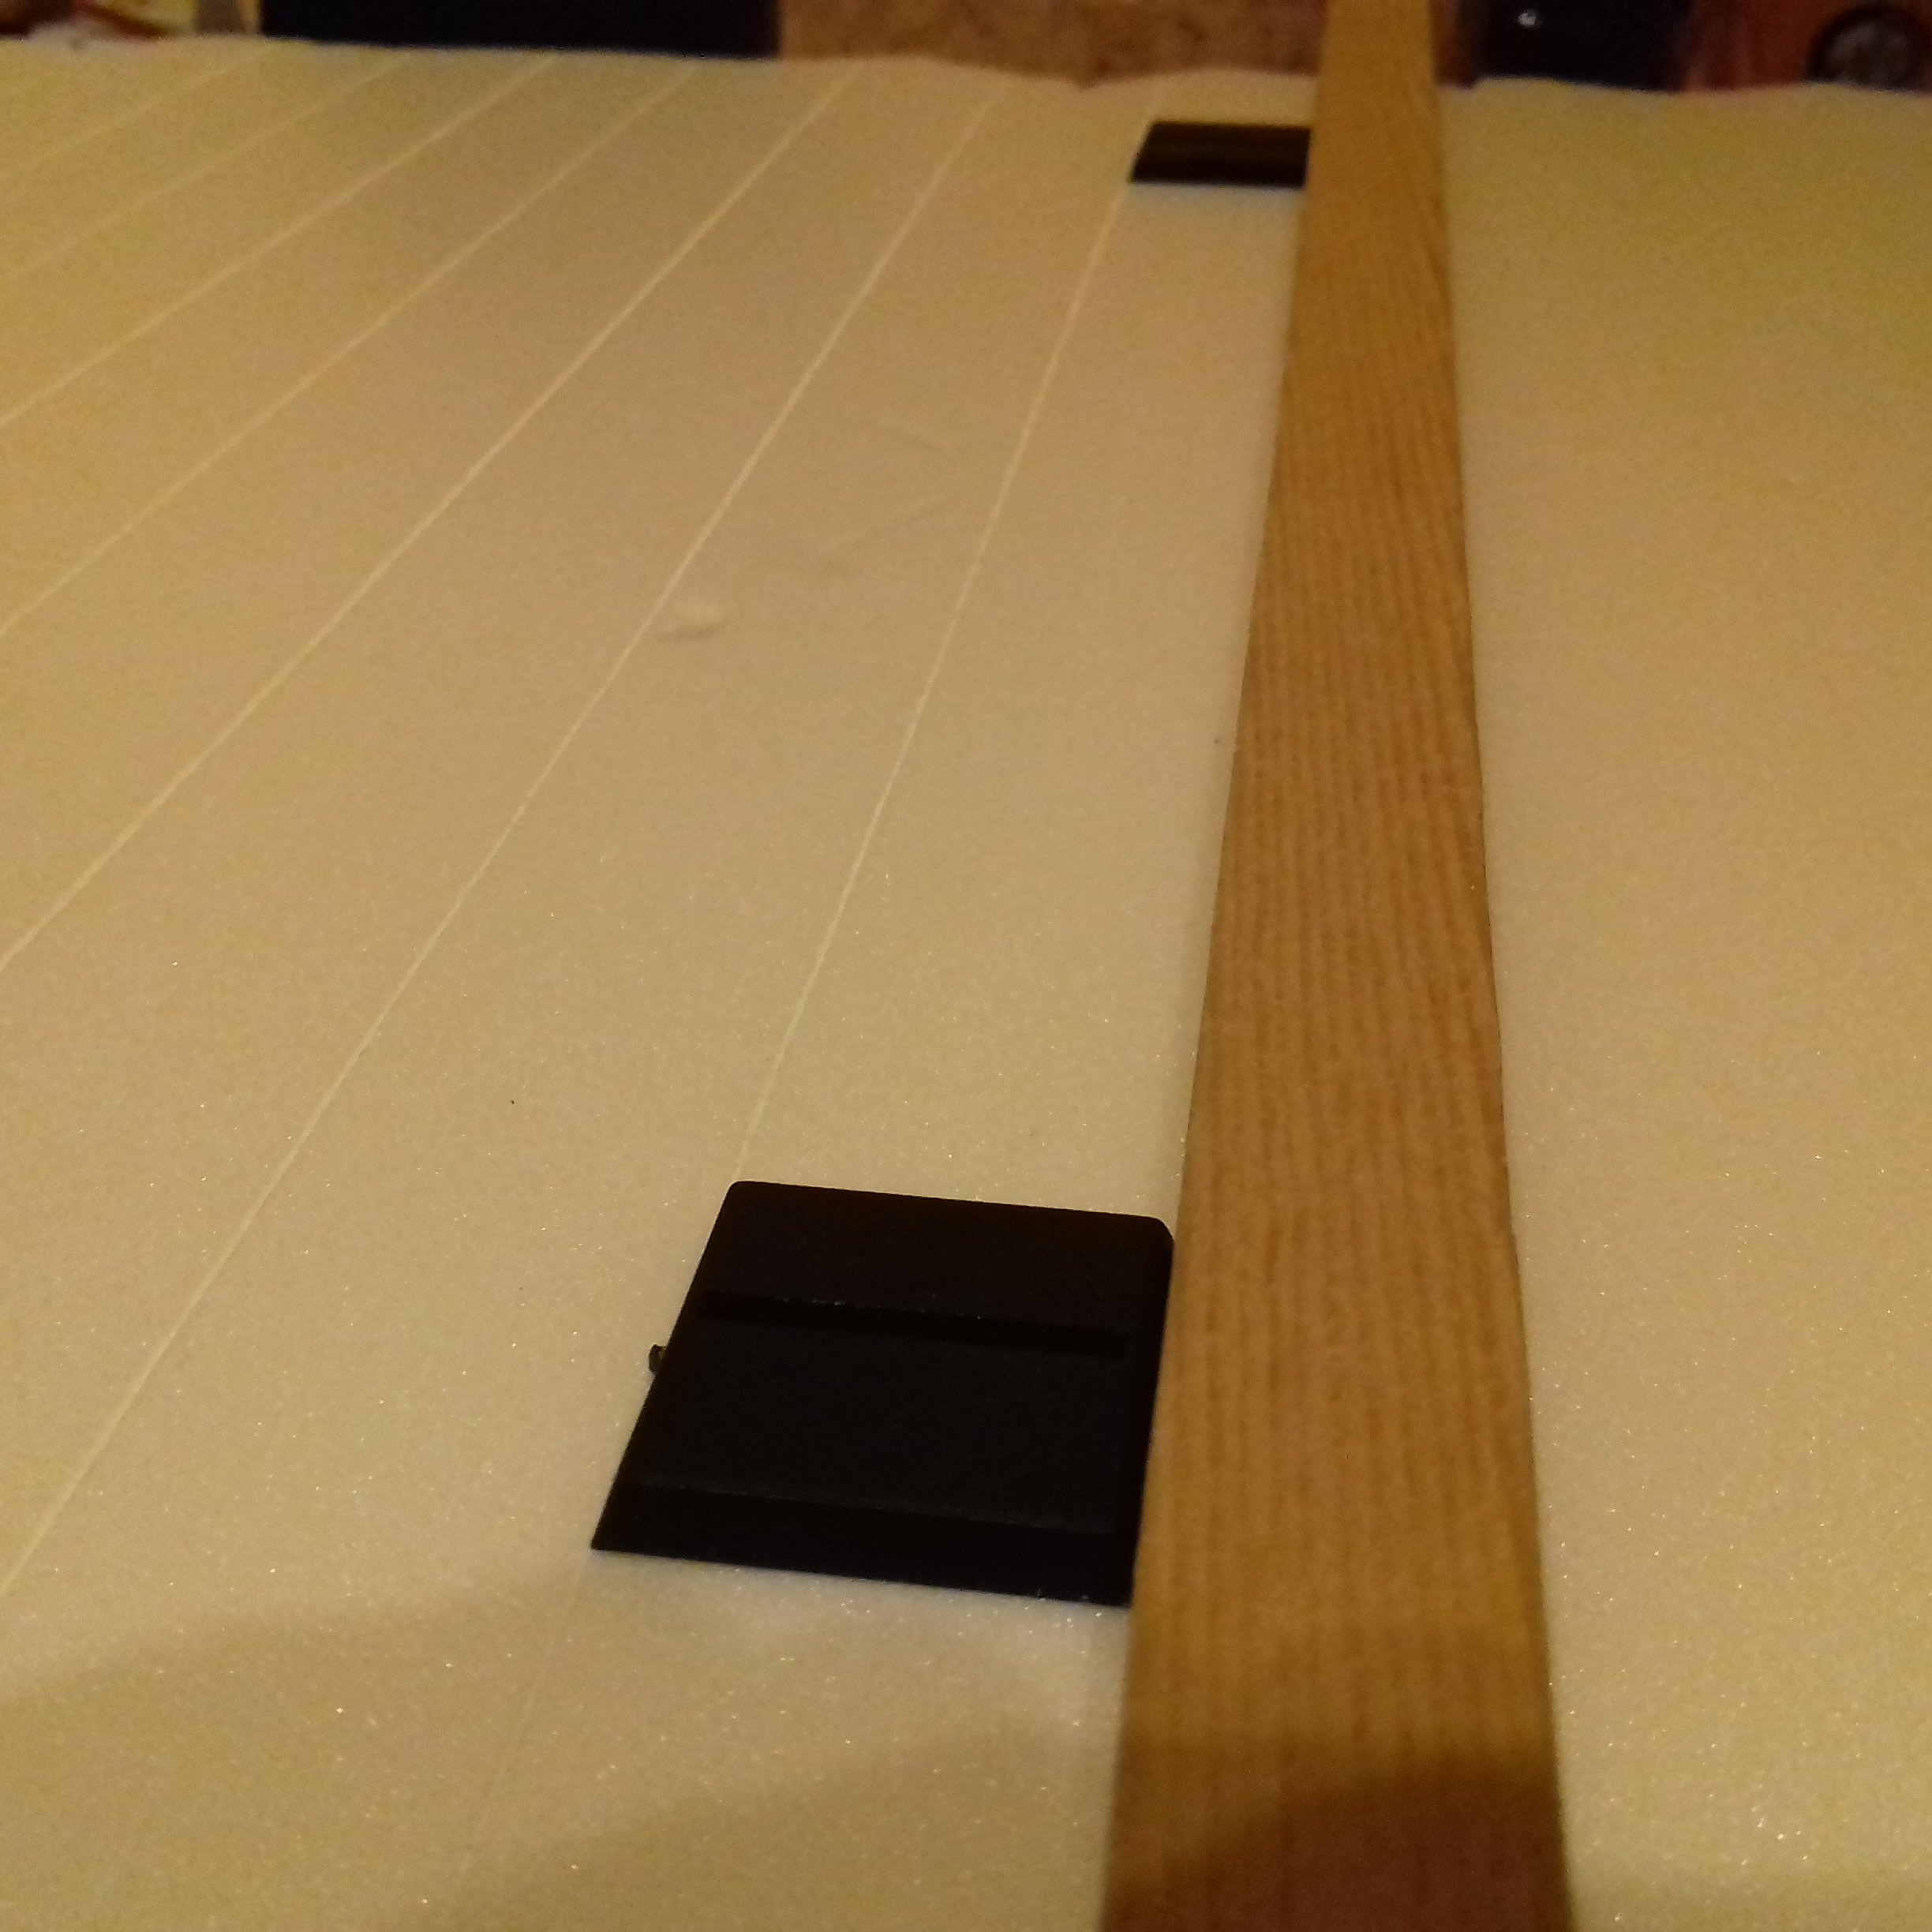
Find one by one square piece of something. I’ve got base plate left from my Games Workshop minis. And let’s start!
1×1” base can be very handy in context of cutting nice polystyrene foam parts. You can use ruler of curse, but in case foam piece grater than your ruler, or in case you lost one in your mess, you can do something like I did on the photo bellow.

Your one may help you also to build larger structures. Very big base plate for you dungeon is something you should definitely have! Shoe to make one with a nice inch grid you will need to use some big ruler. And even then, because you probably have quite thick foam it might be hard to move the dimensions from the measuring mat on right places. Or you can do it, as I did it. I just took a thin plank and two mini base plates. Bases added two points need to arrange my plank. Then just nice small cut with knife. And line by line you will get your grid.

Enjoy!
